

")
 Deutsch (Deutschland)
 Español (España)
 Français (France)
 Italiano (Italia)


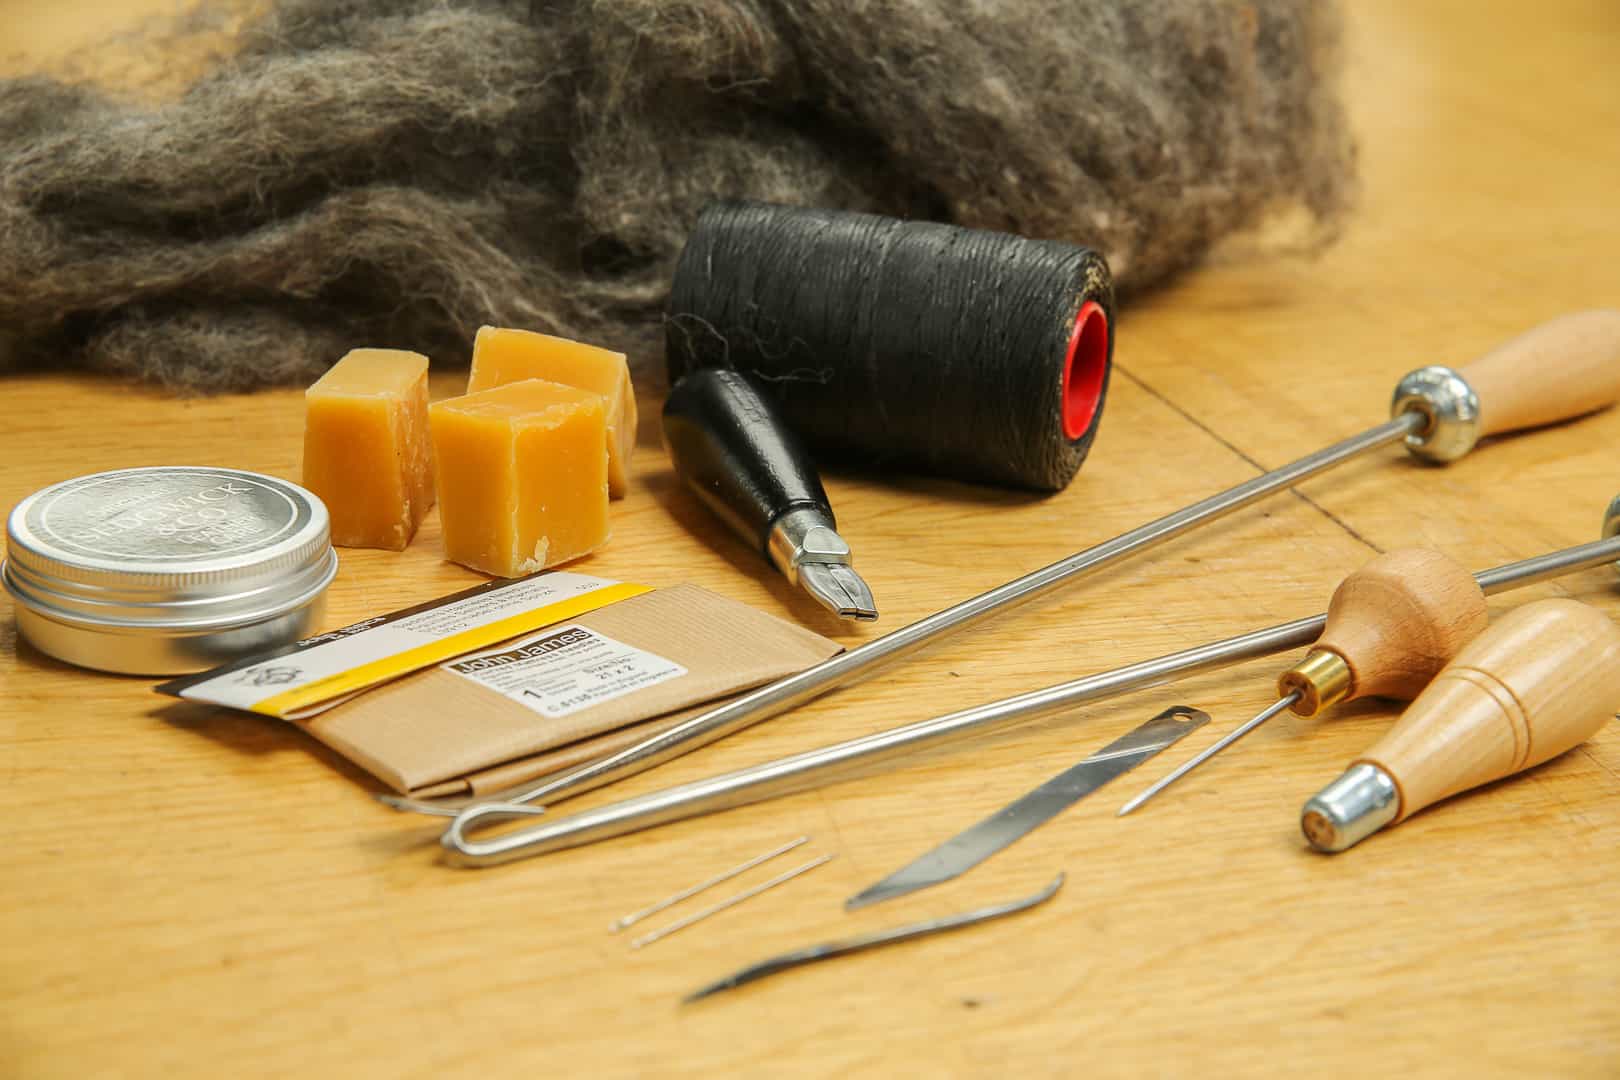
ESSENTIAL FLOCKING TOOL KIT

FIND YOUR ESSENTIAL
flocking tool kit HERE
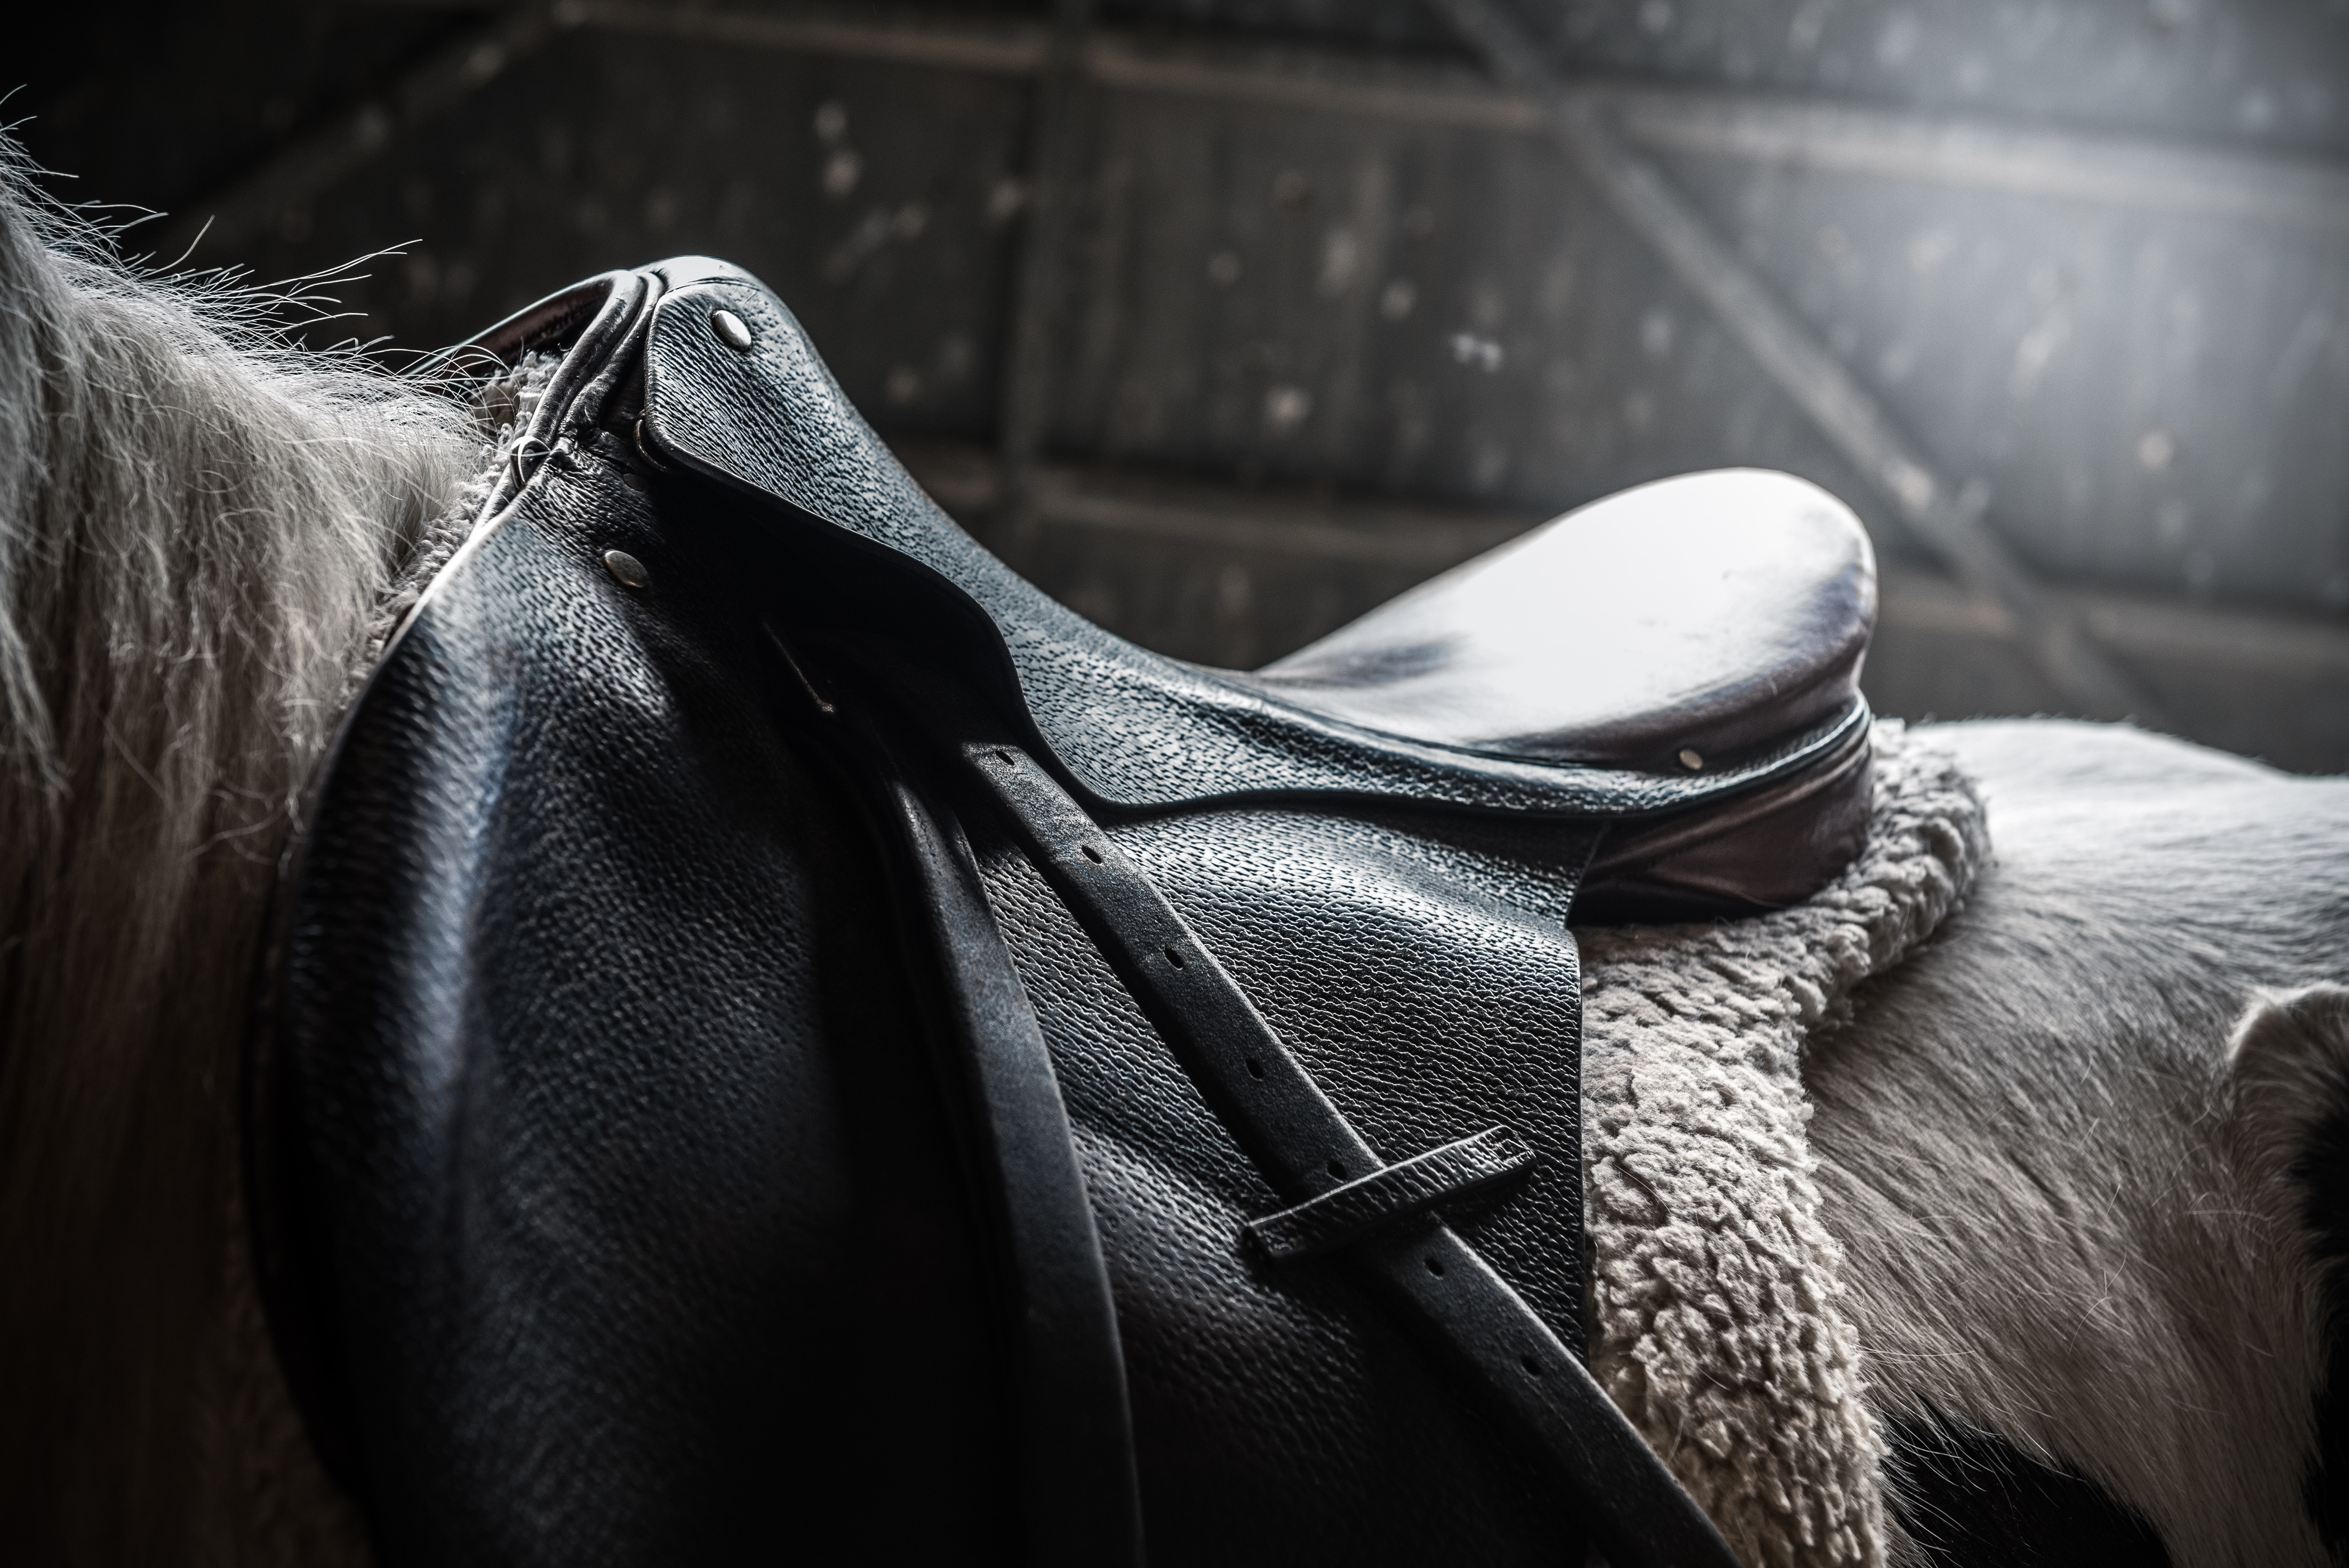
A full reflock is a satisfying job, allowing the fully trained Saddle Fitter to achieve correct and comfortable saddle balance where the tree and panel design, and seat and blocks otherwise complement the horse and rider.
Reflocking is not just about the panel and wool – it is also an opportunity to check the soundness and symmetry of the tree, stirrup bars, girthing, and panel, and to make your findings known to the client where safety or comfort may be compromised. It is also the time – only where the Fitter has completed the appropriate training – to add or remove point or balance girth straps and to make any small repairs to stitching. It must be stressed that all Fitters should have recourse to a qualified Saddler for work that they are not able or qualified to carry out themselves. We find that Saddlers are happy to advise, and to take on work for you or your client. Don’t be shy to seek help where it is needed, especially when you are beginning.
It can be daunting for those who have never ‘dropped a panel’ (cut the stitching to separate the panel from the seat), let alone ‘laced’ one back in again. Even if you have a tool list, how do you know that you are about to order the correct awl or needle … and what is a clicker knife? We hope that this guide will set you up to complete good work in your own workshop, having gained your flocking training.
All the essential tools and materials mentioned in this article can be purchased separately.
Please note that this guide lists the key tools for each stage – if a tool has been used in an earlier part of the process it will not be listed again. Your tutor will instruct you on when and how to use each tool and/or material. Tools marked with a ** are not available from Abbey but may easily be found at a DIY or craft store.
_________________________________________________
.jpg "CATHERINE")
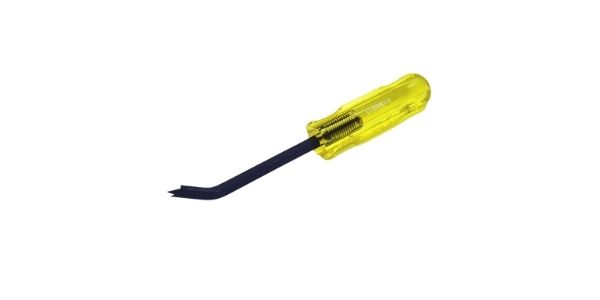
DROPPING THE PANEL
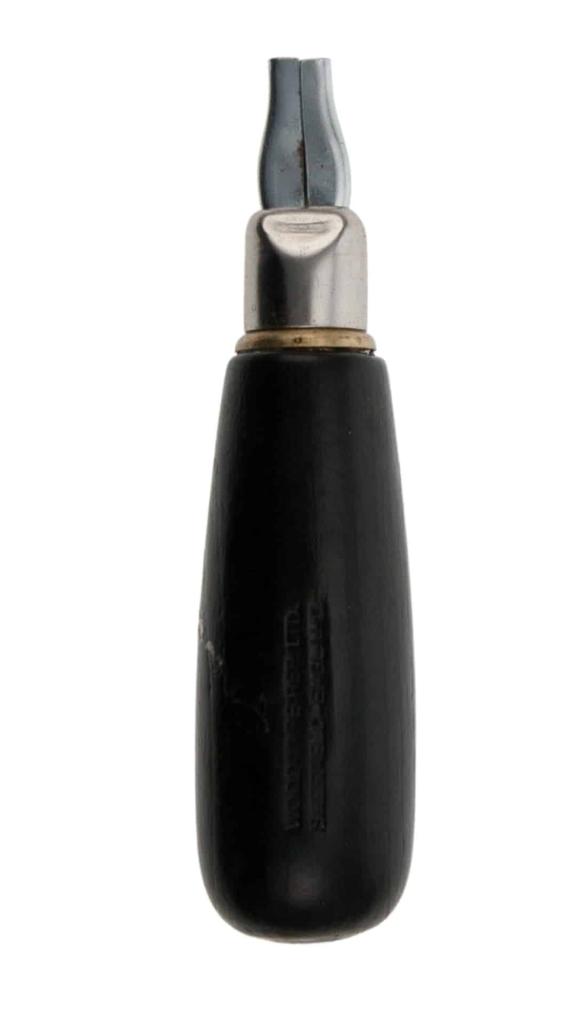
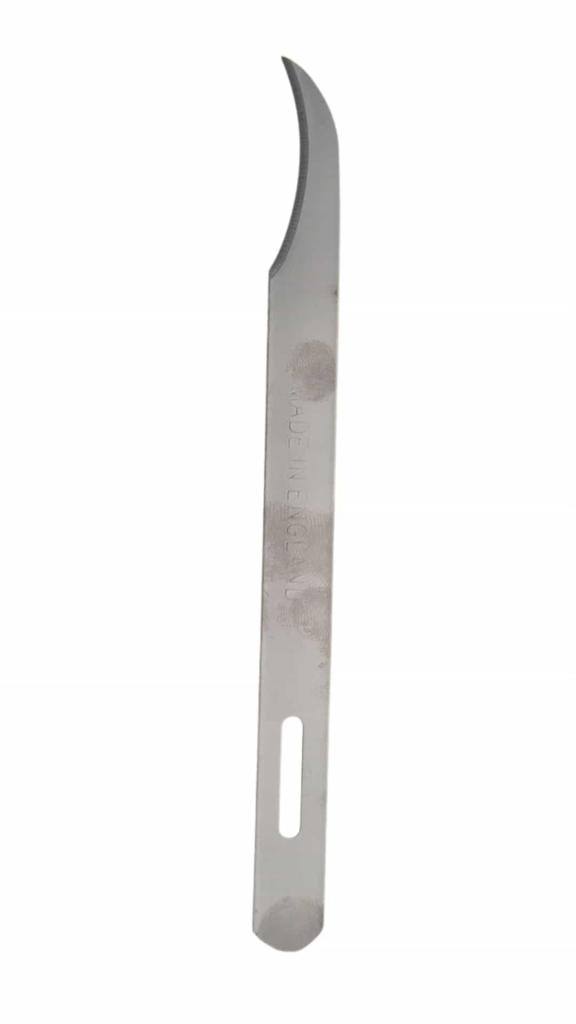
Clicker handle
Clicker blade
The curved blade is useful when dropping the panel, but most people find a straight blade most useful for cutting leather.
Click the button ‘View product’ to see the price and add to cart
ASSESSING THE TREE
Staple and/or tack remover
A cutting mat with a grid* to assist the eye with symmetry assessment.
Click the button ‘View product’ to see the price and add to cart
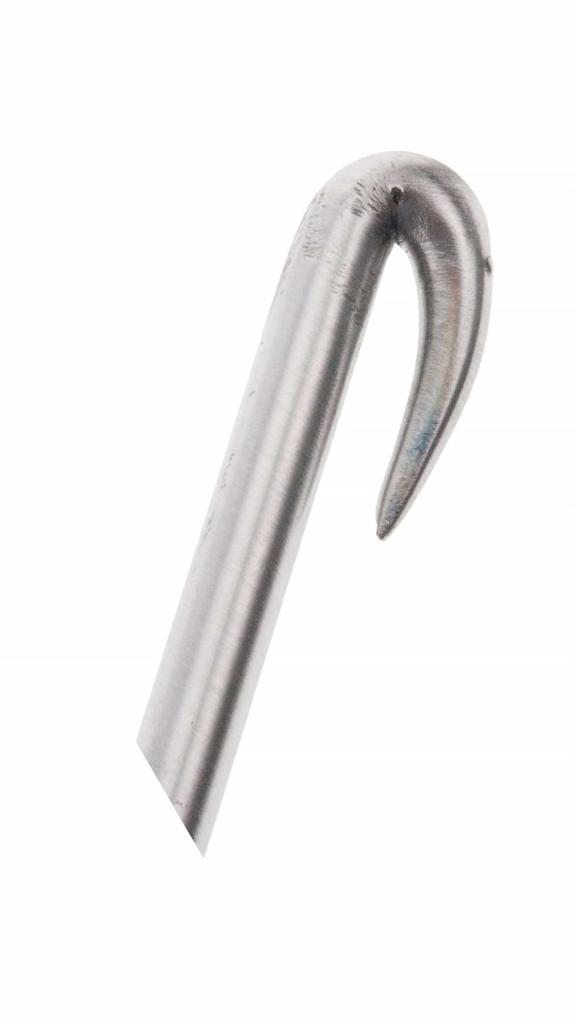
READYING THE PANEL
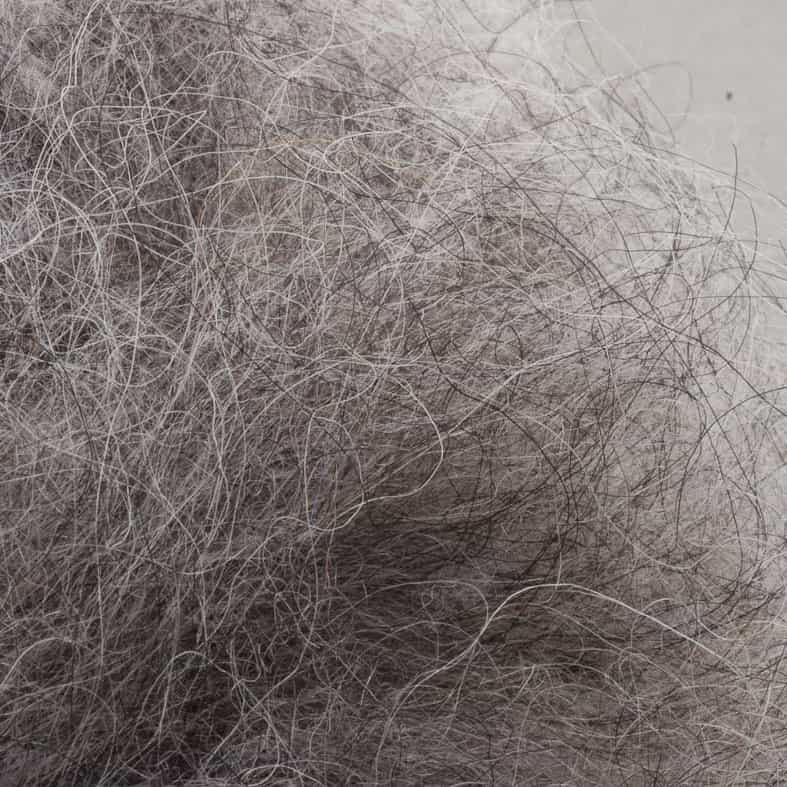
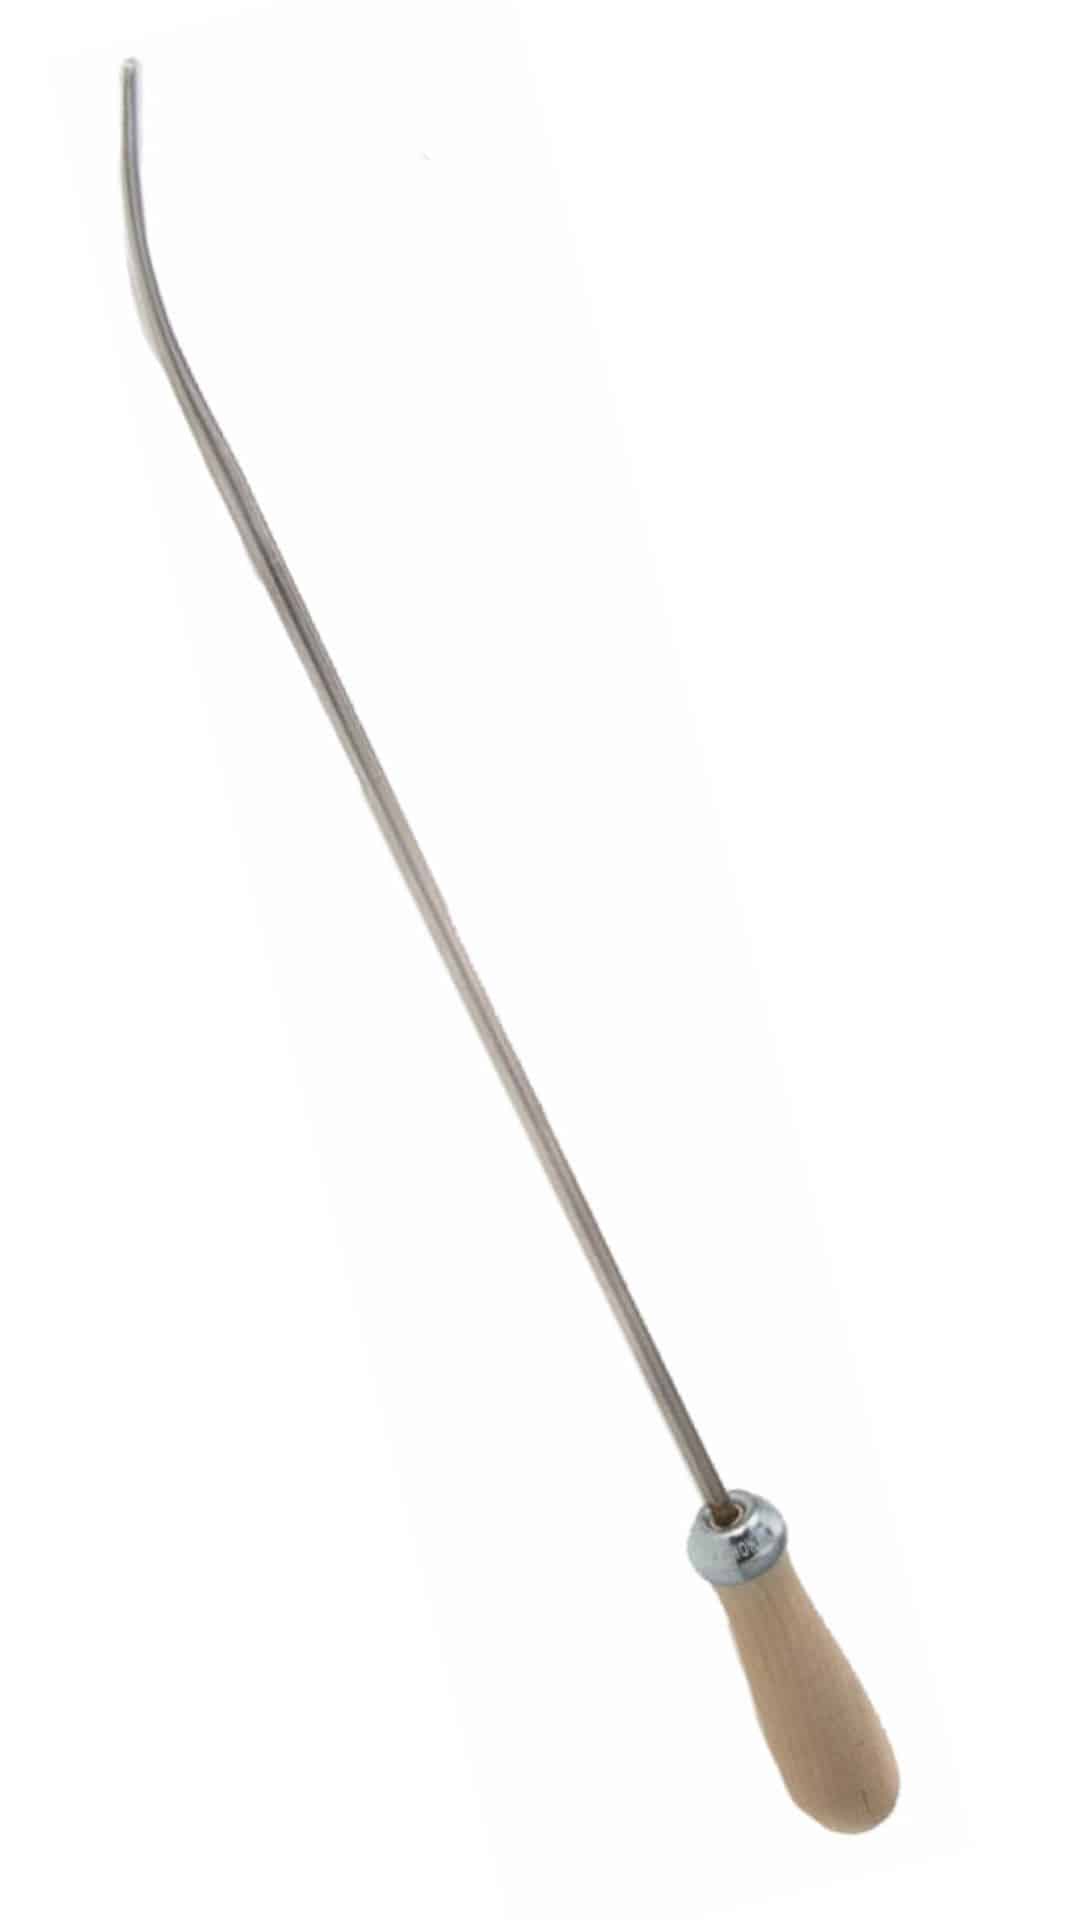
De-flocking iron
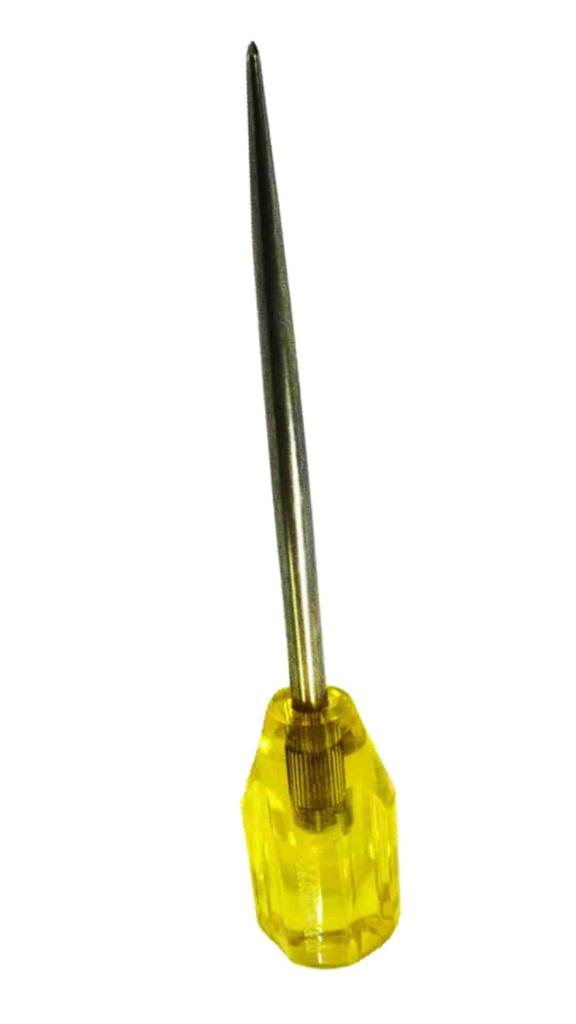
Awl to prepare leather for stitching
Long nose pliers**
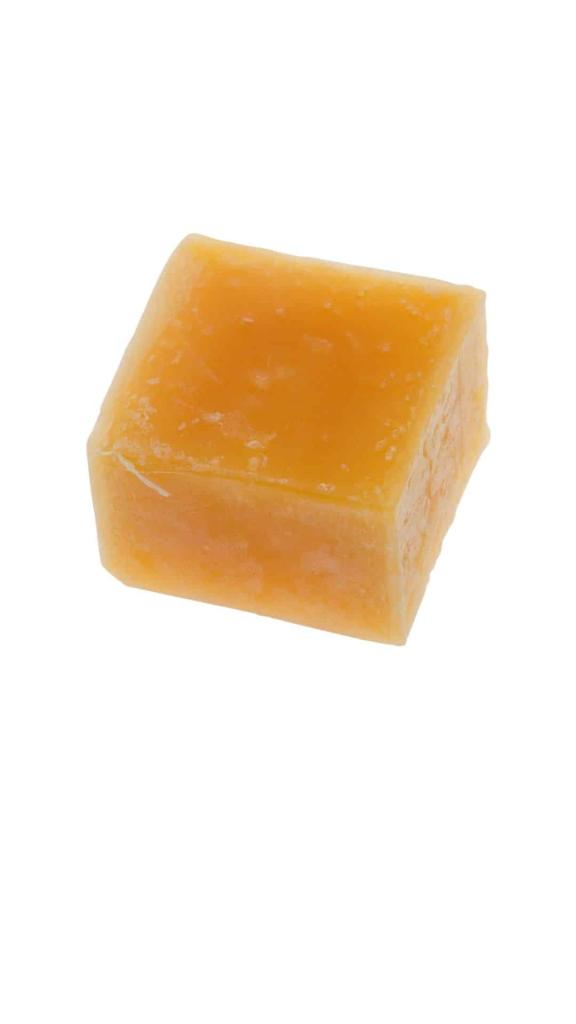
Awl handle
Beeswax
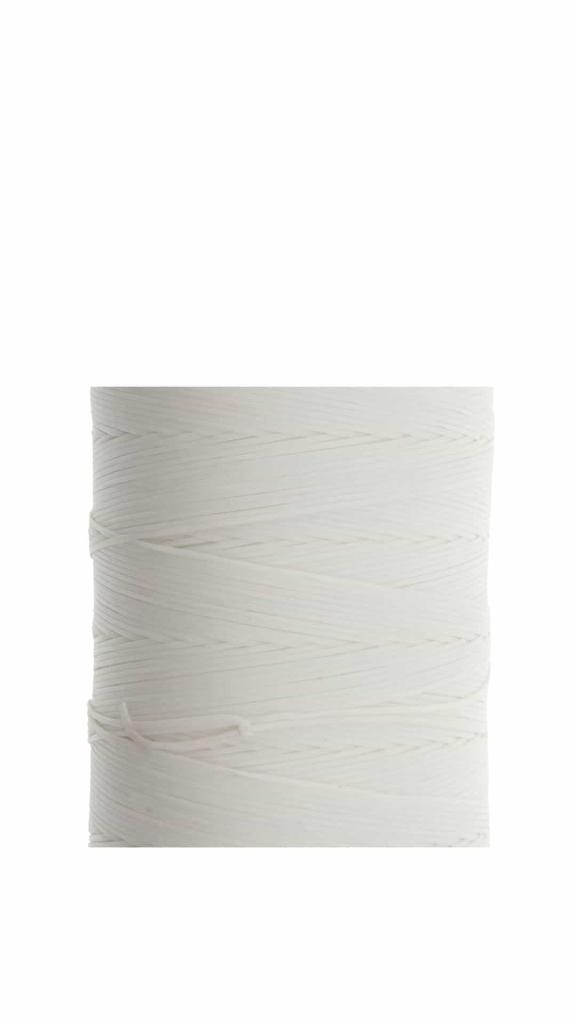
Tiger thread, 0.6mm – 0.8mm
Size 2 harness needle (straight) or 3” curved mattress needle
Click the button ‘View product’ to see the price and add to cart
A note about needles: there are three distinct needle types often used in reflocking a saddle. The straight, blunt harness needles, as below, are most often used to stitch closed the inner panel after all old flock has been removed and any lining and new flock has been put in place, and to complete any adjustments or corrections to the panel shape. These size 1 or 2 needles are also usually used to lace-in the front of the saddle.
The curved mattress needle may also be used for the jobs above, and to lace in the rear of the saddle where the panel is attached to the seat.
Finally, a long, thicker straight mattress needle can be used to ‘quilt’ panel legs once the flocking is complete. Often just three of four stitches are placed along the lower section of the panel leg so that the shape of the panel complements the conformation and activity of the horse. You should have assessed the horse and rider before considering whether and where to add quilting.


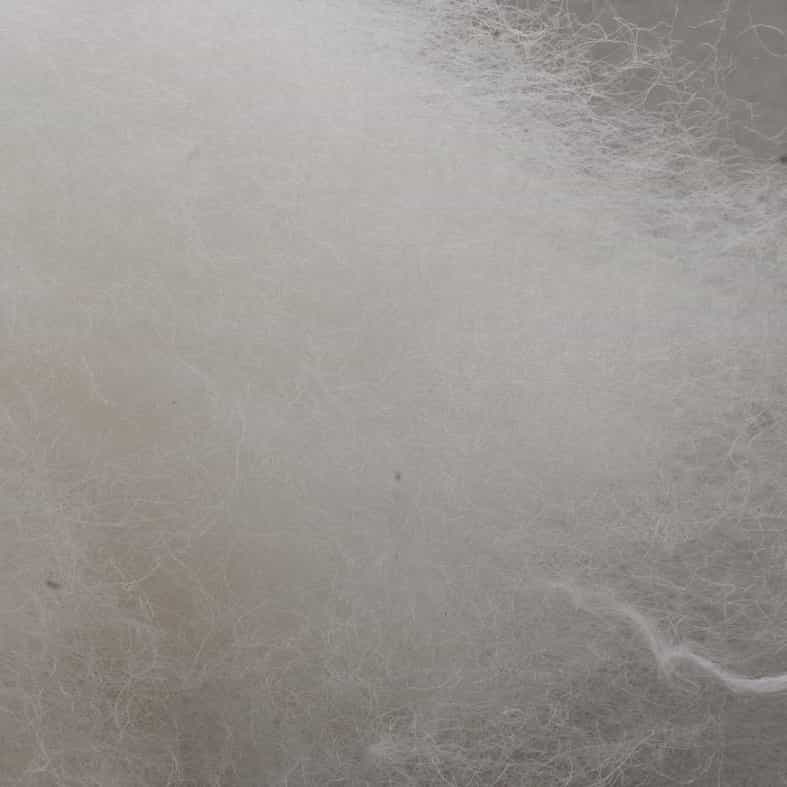
FLOCKING THE PANEL
Flocking irons to carry out the work. Choose either our Economy Stuffing Iron which is easier to bend or Stainless Steel Flocking Iron.
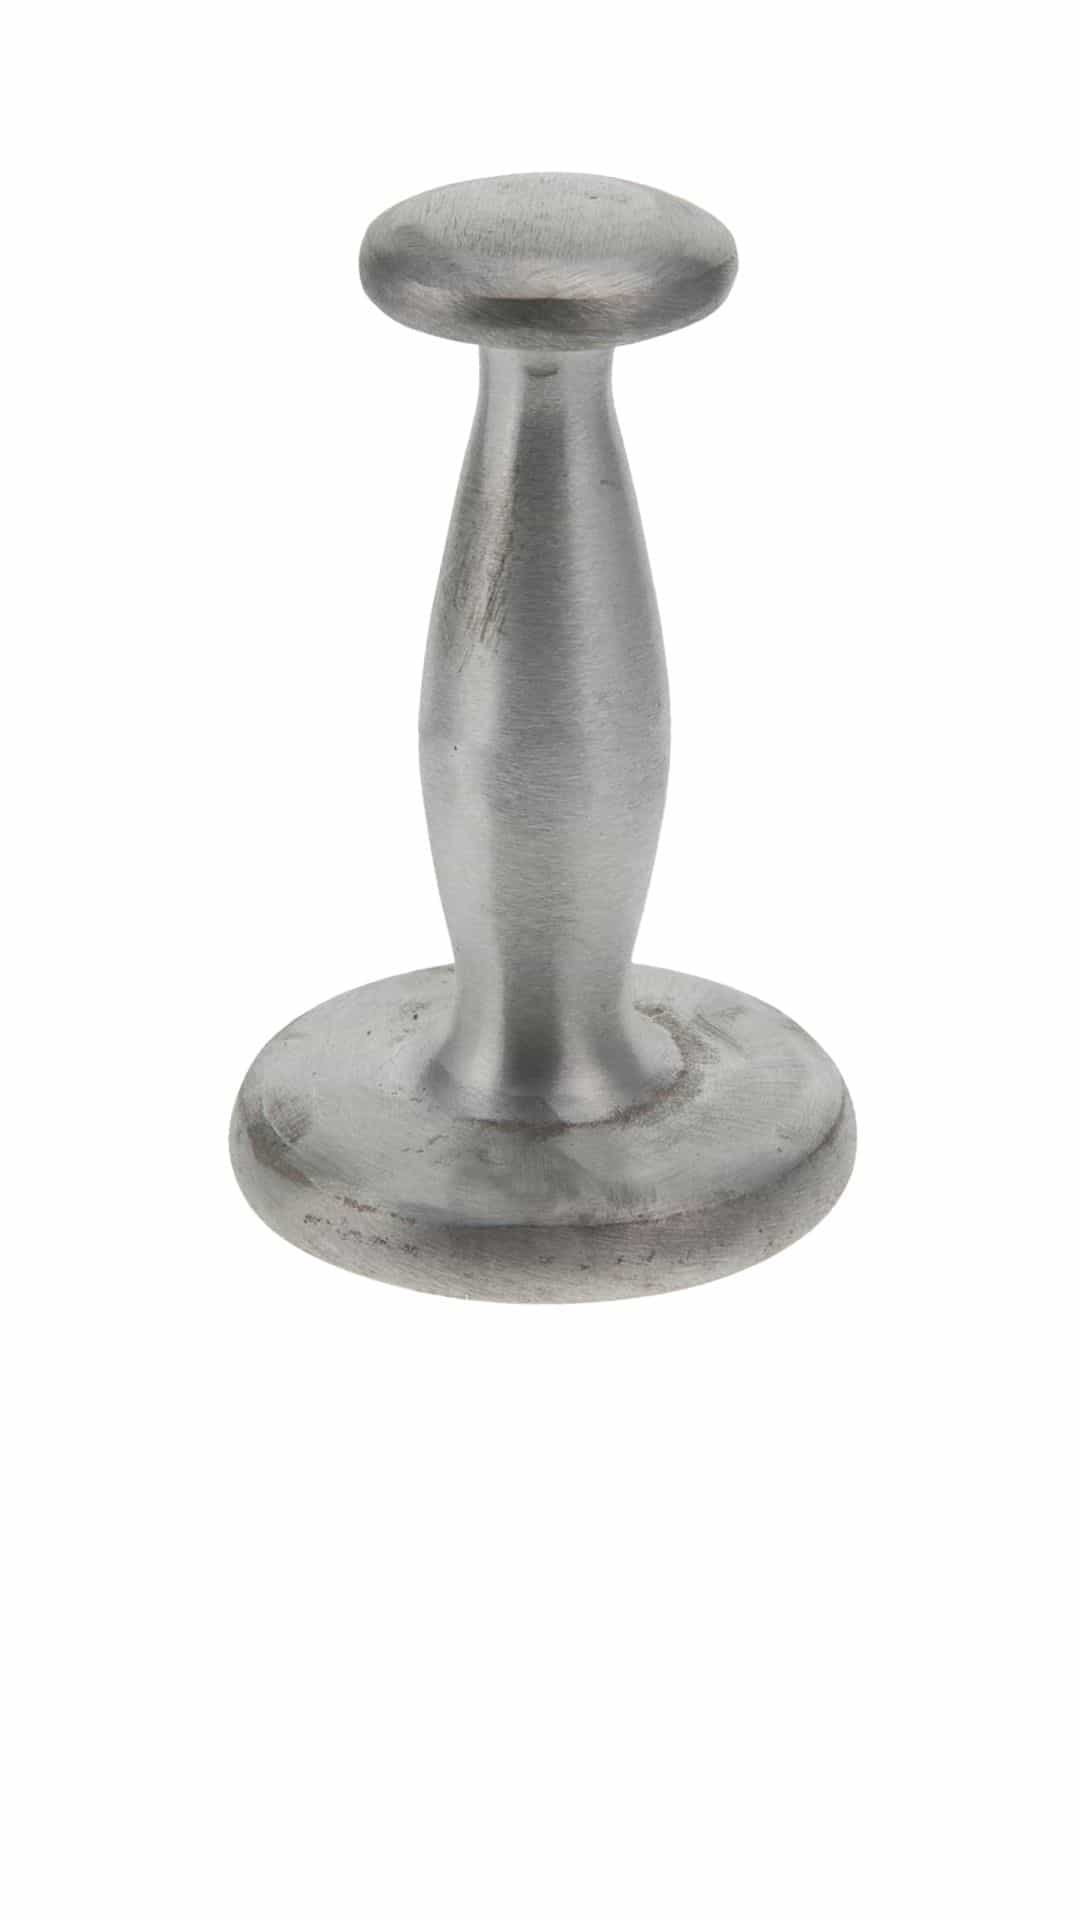
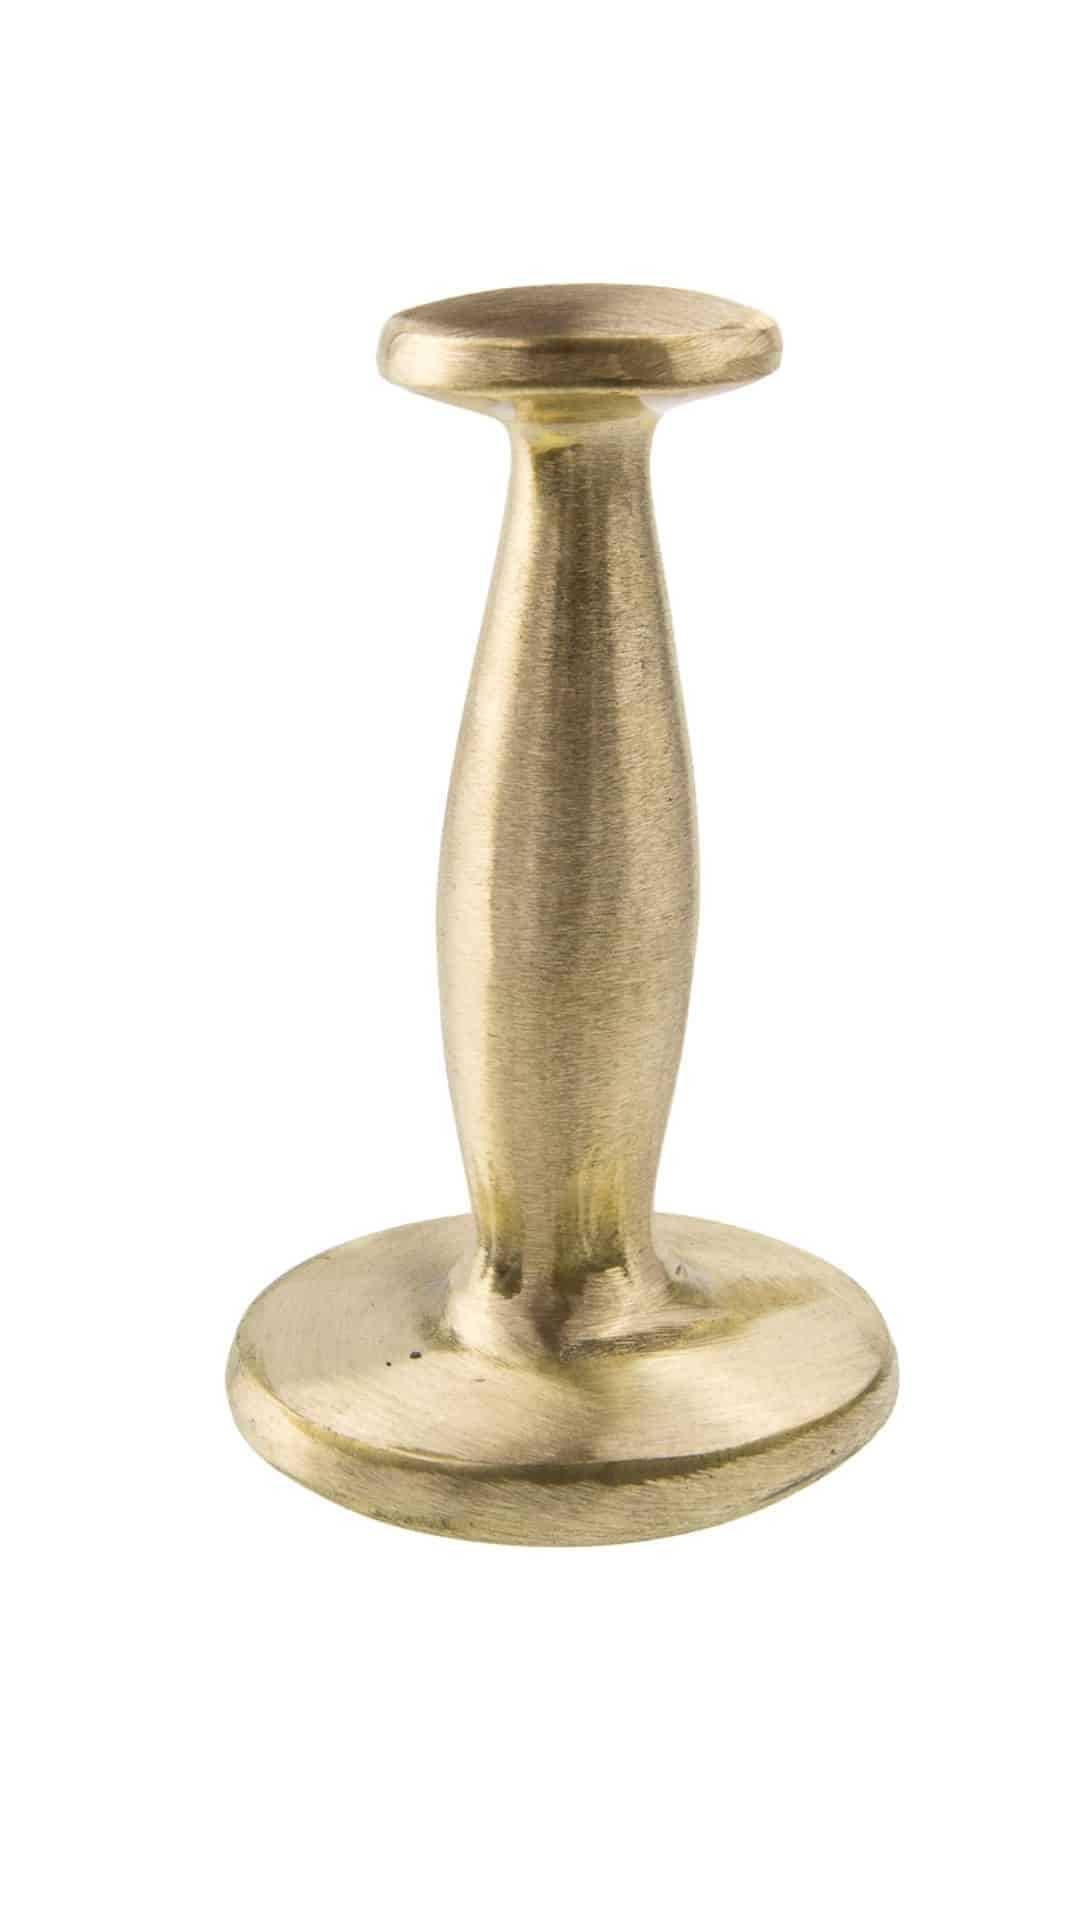
Finally, you will require a Smasher, also known as a Masher. Choose from aluminium or brass.
Click the button ‘View product’ to see the price and add to cart

LINING THE PANEL
If you wish to line the panel you may choose to use:
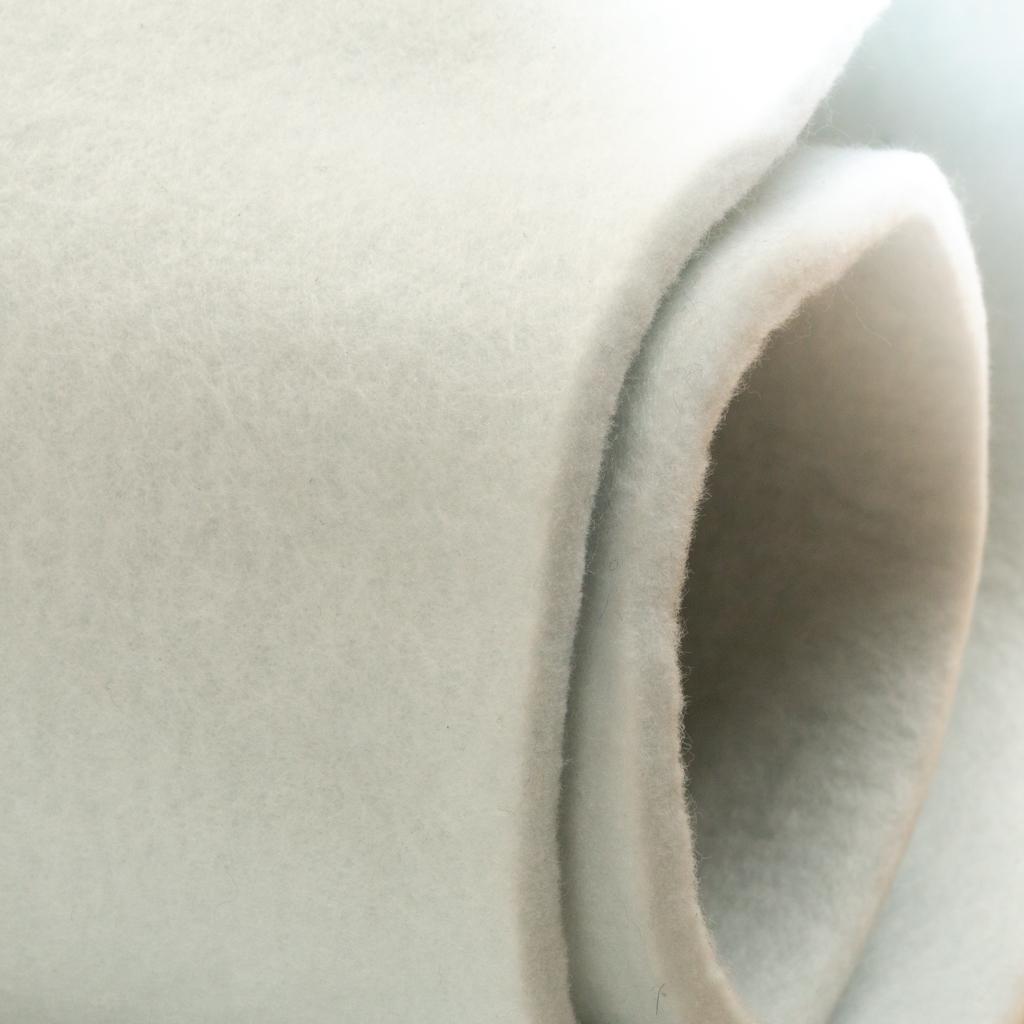
Soft Polyester Felt
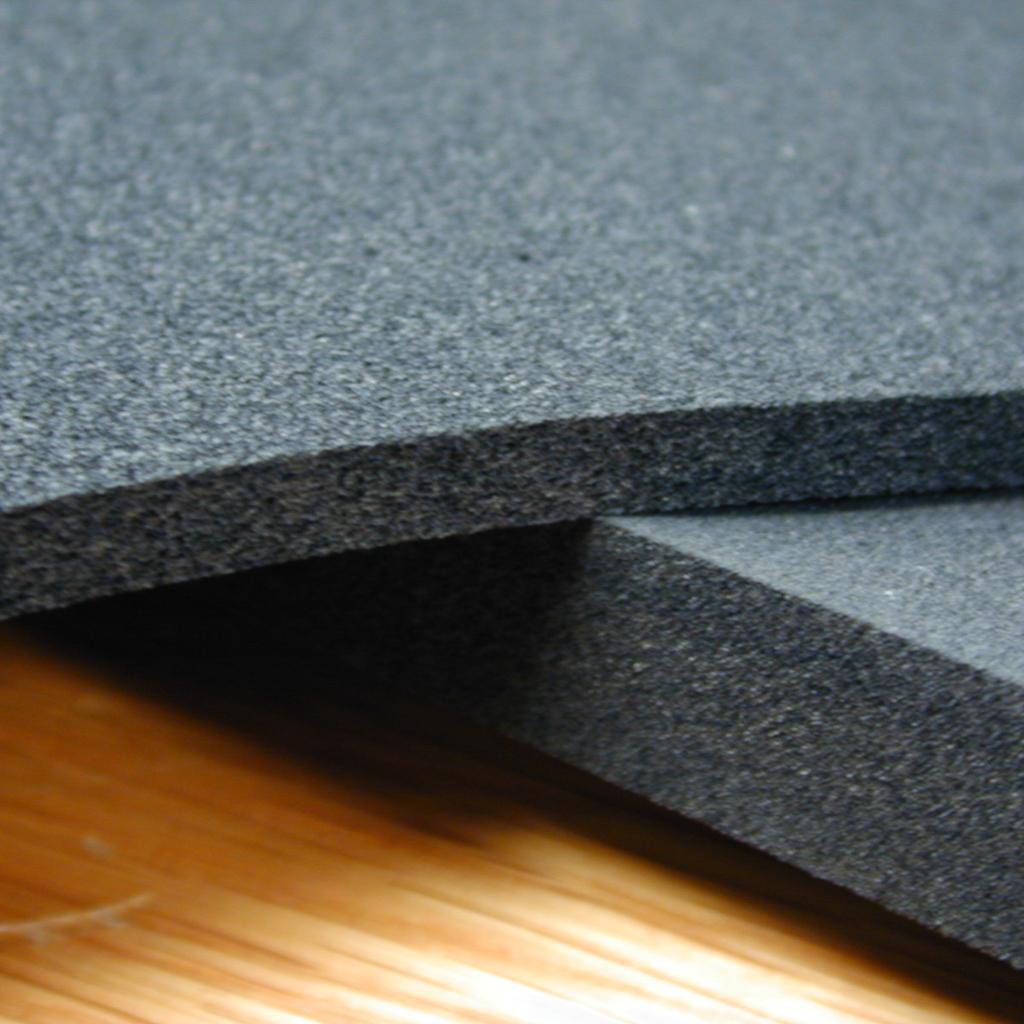
Neoprene Epdm, most commonly 3mm.
Click the button ‘View product’ to see the price and add to cart
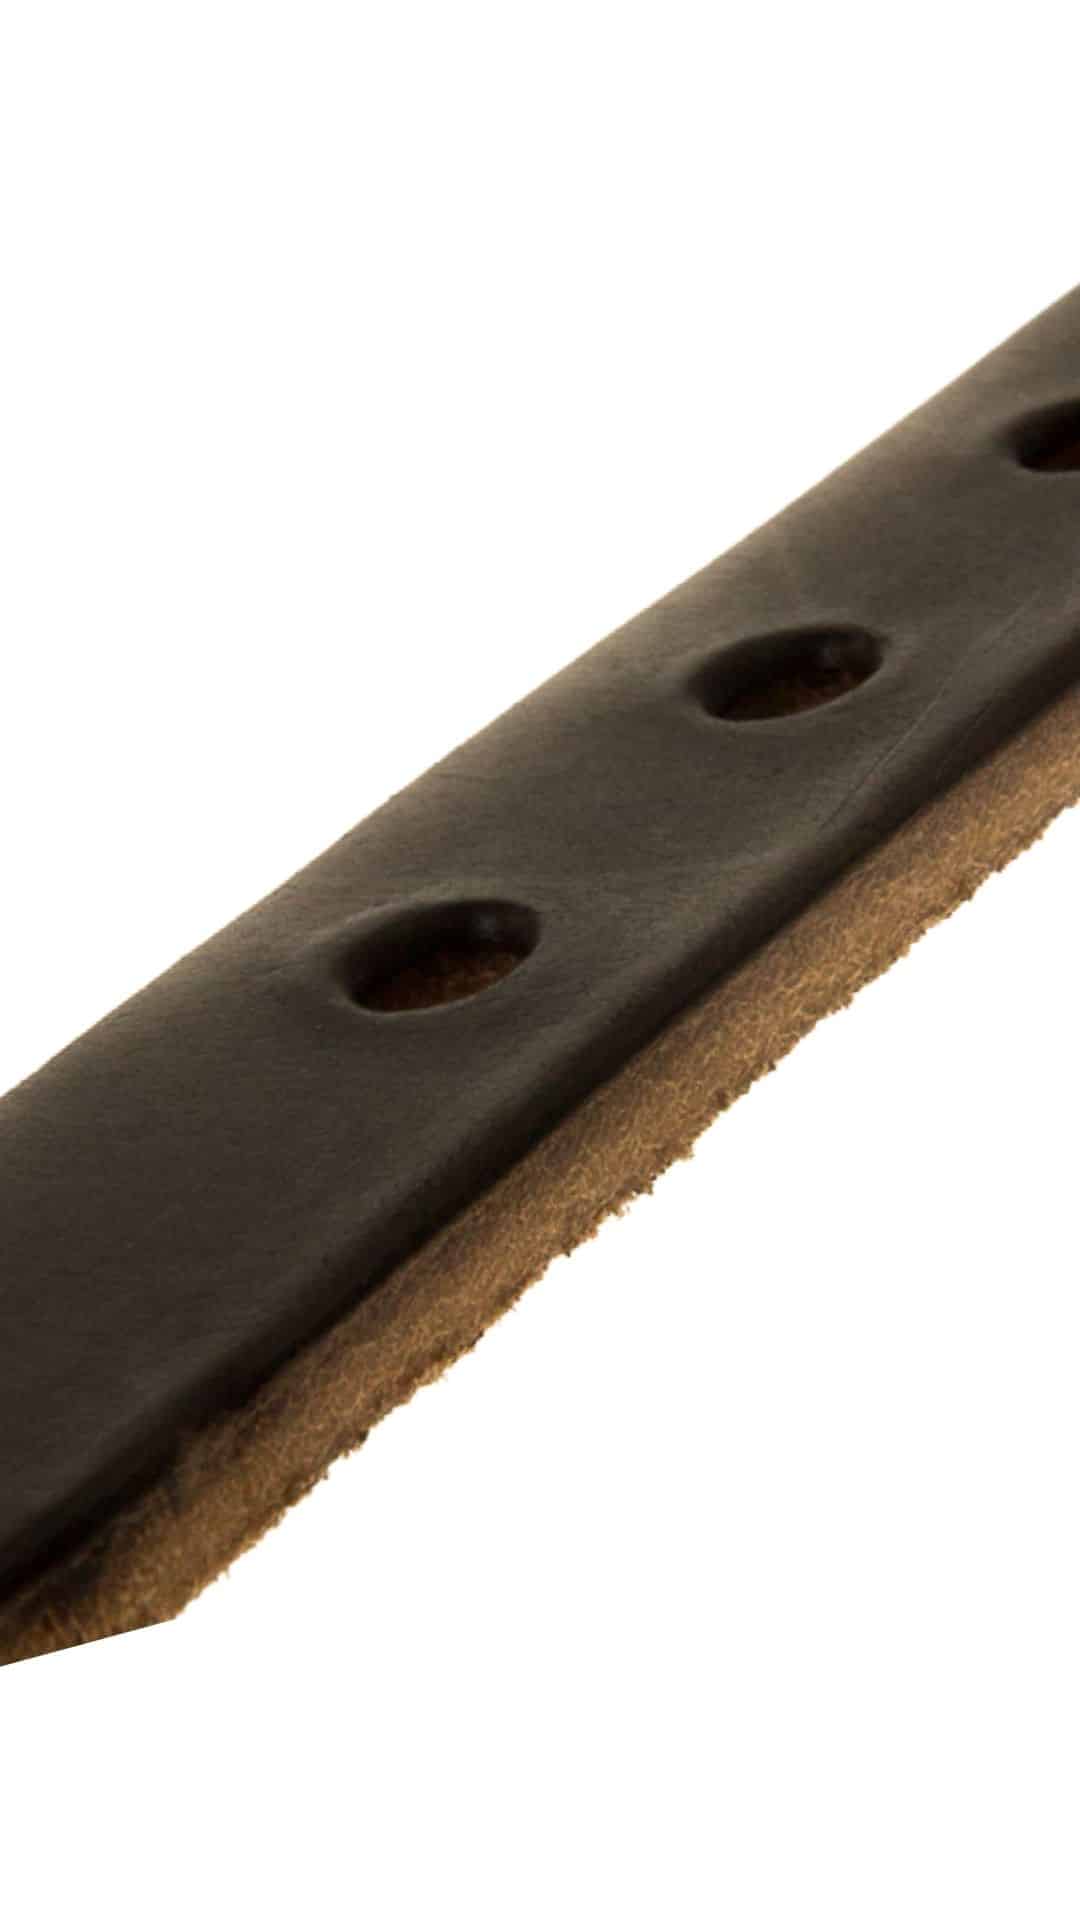
LACING IN THE PANEL
White gel pen** to help position the panel – this can be useful before dropping the panel too!
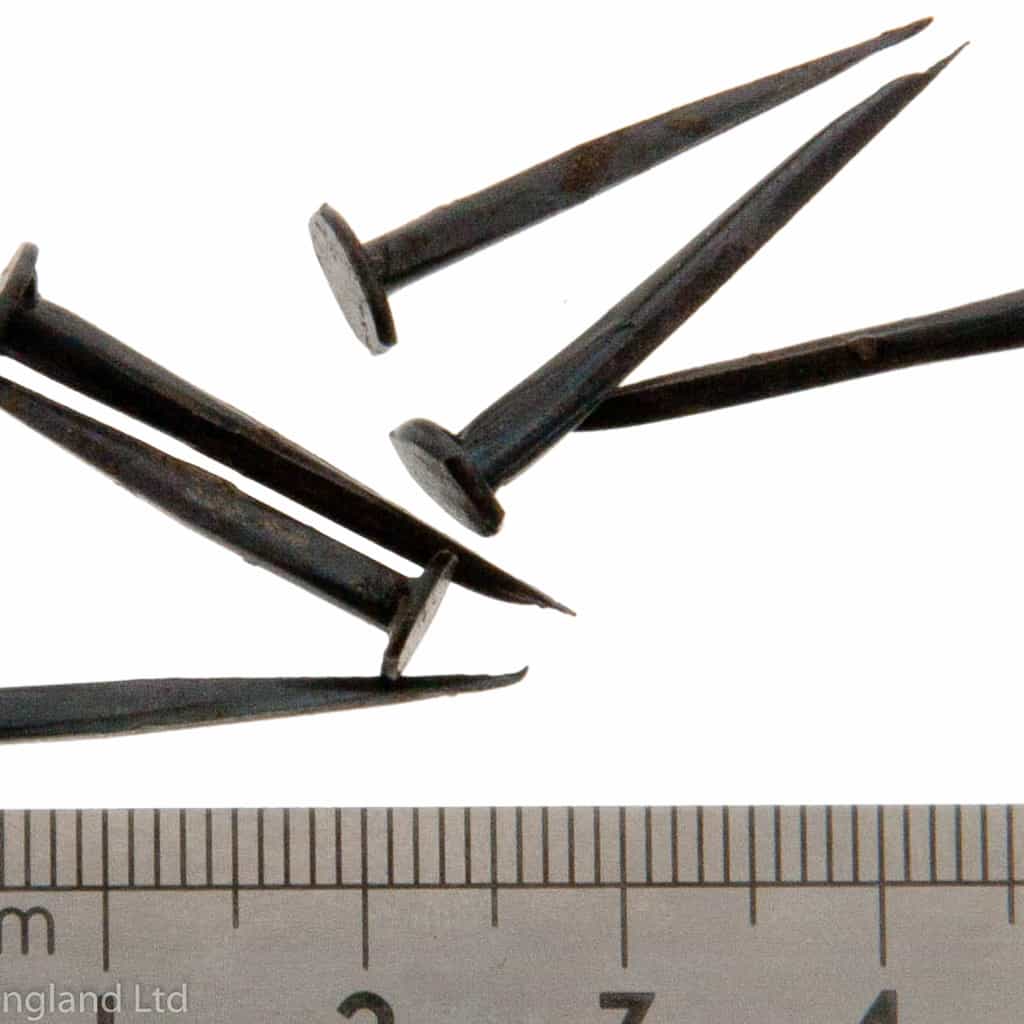
20mm tacks or scratch awl to hold the front of the panel in place
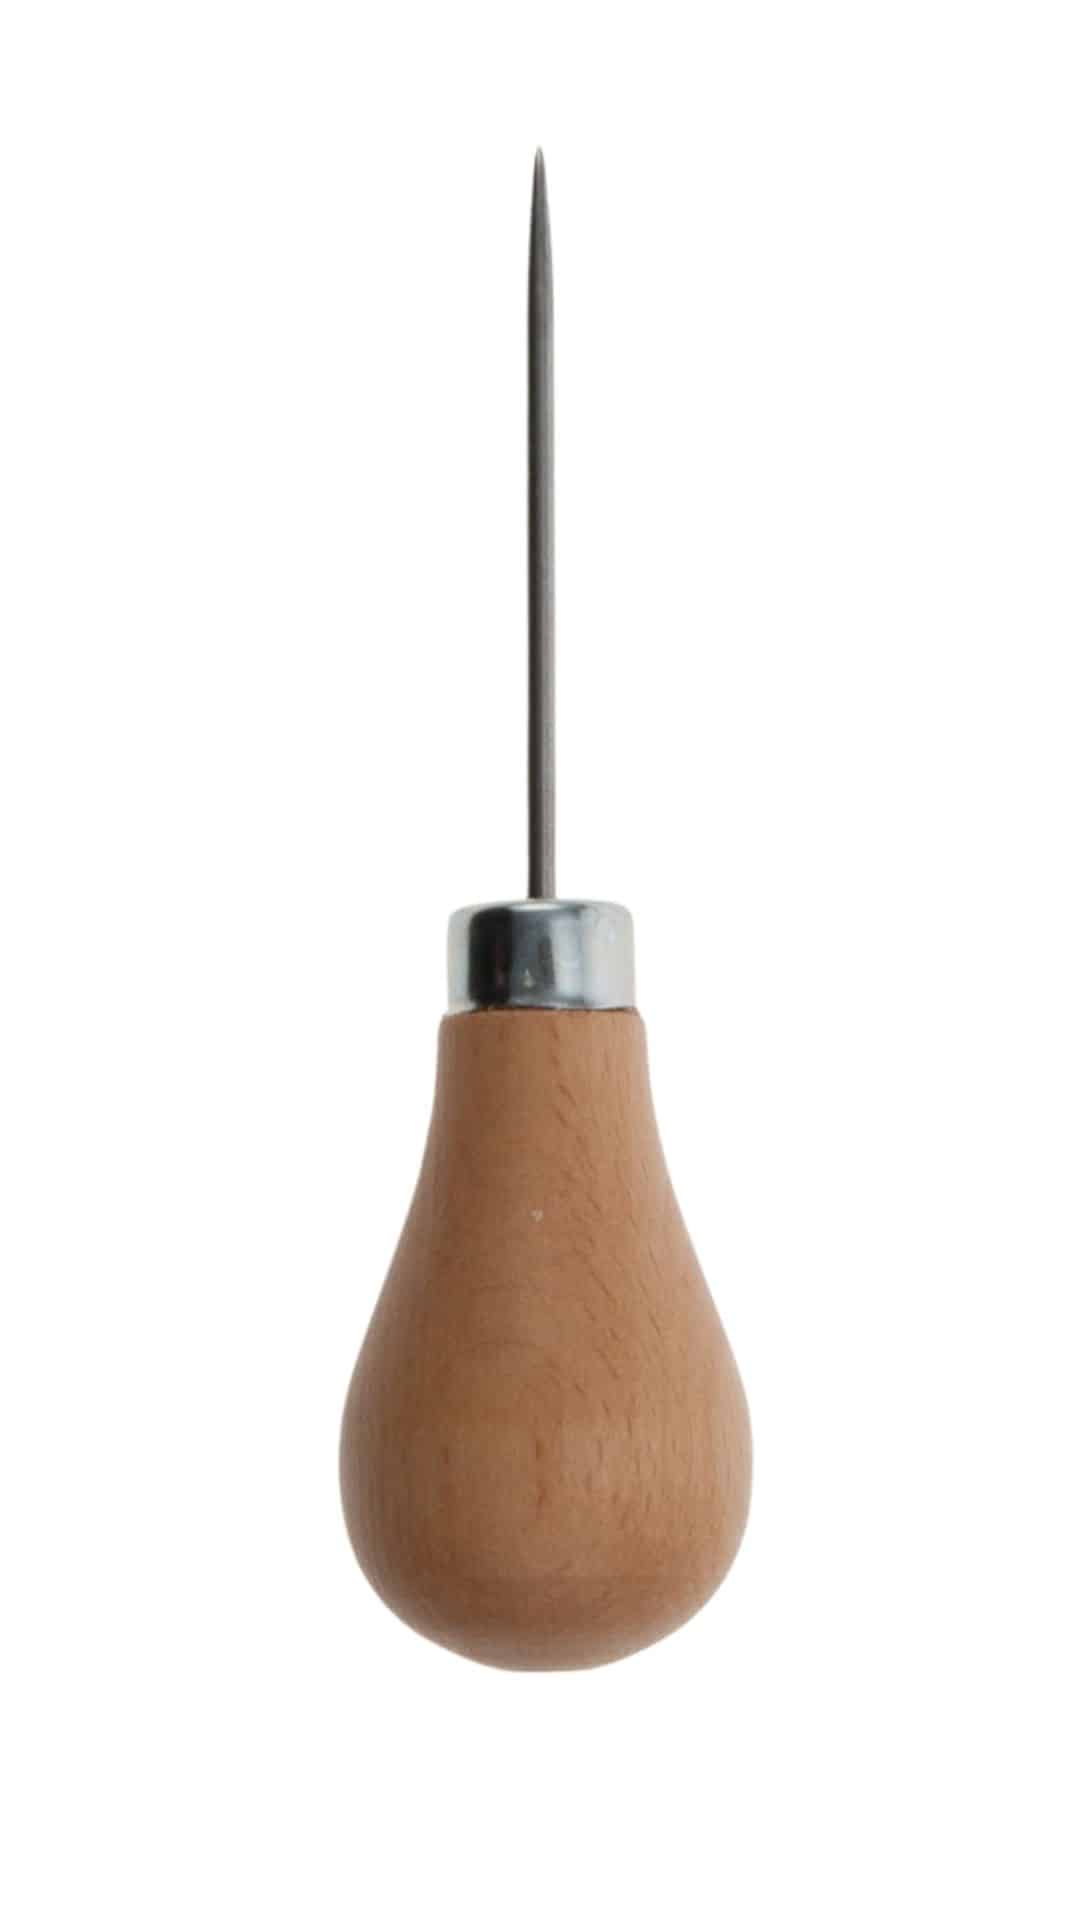
Curved awl (with handle)
Clicker or scratch awl
Tiger thread – 0.8mm or 1mm (doubled) for the front, and 1.4mm to lace in the back
Thread snips** or small sharp scissors to get a nice fine point on the thread before threading your needle
Harness and curved mattress needles
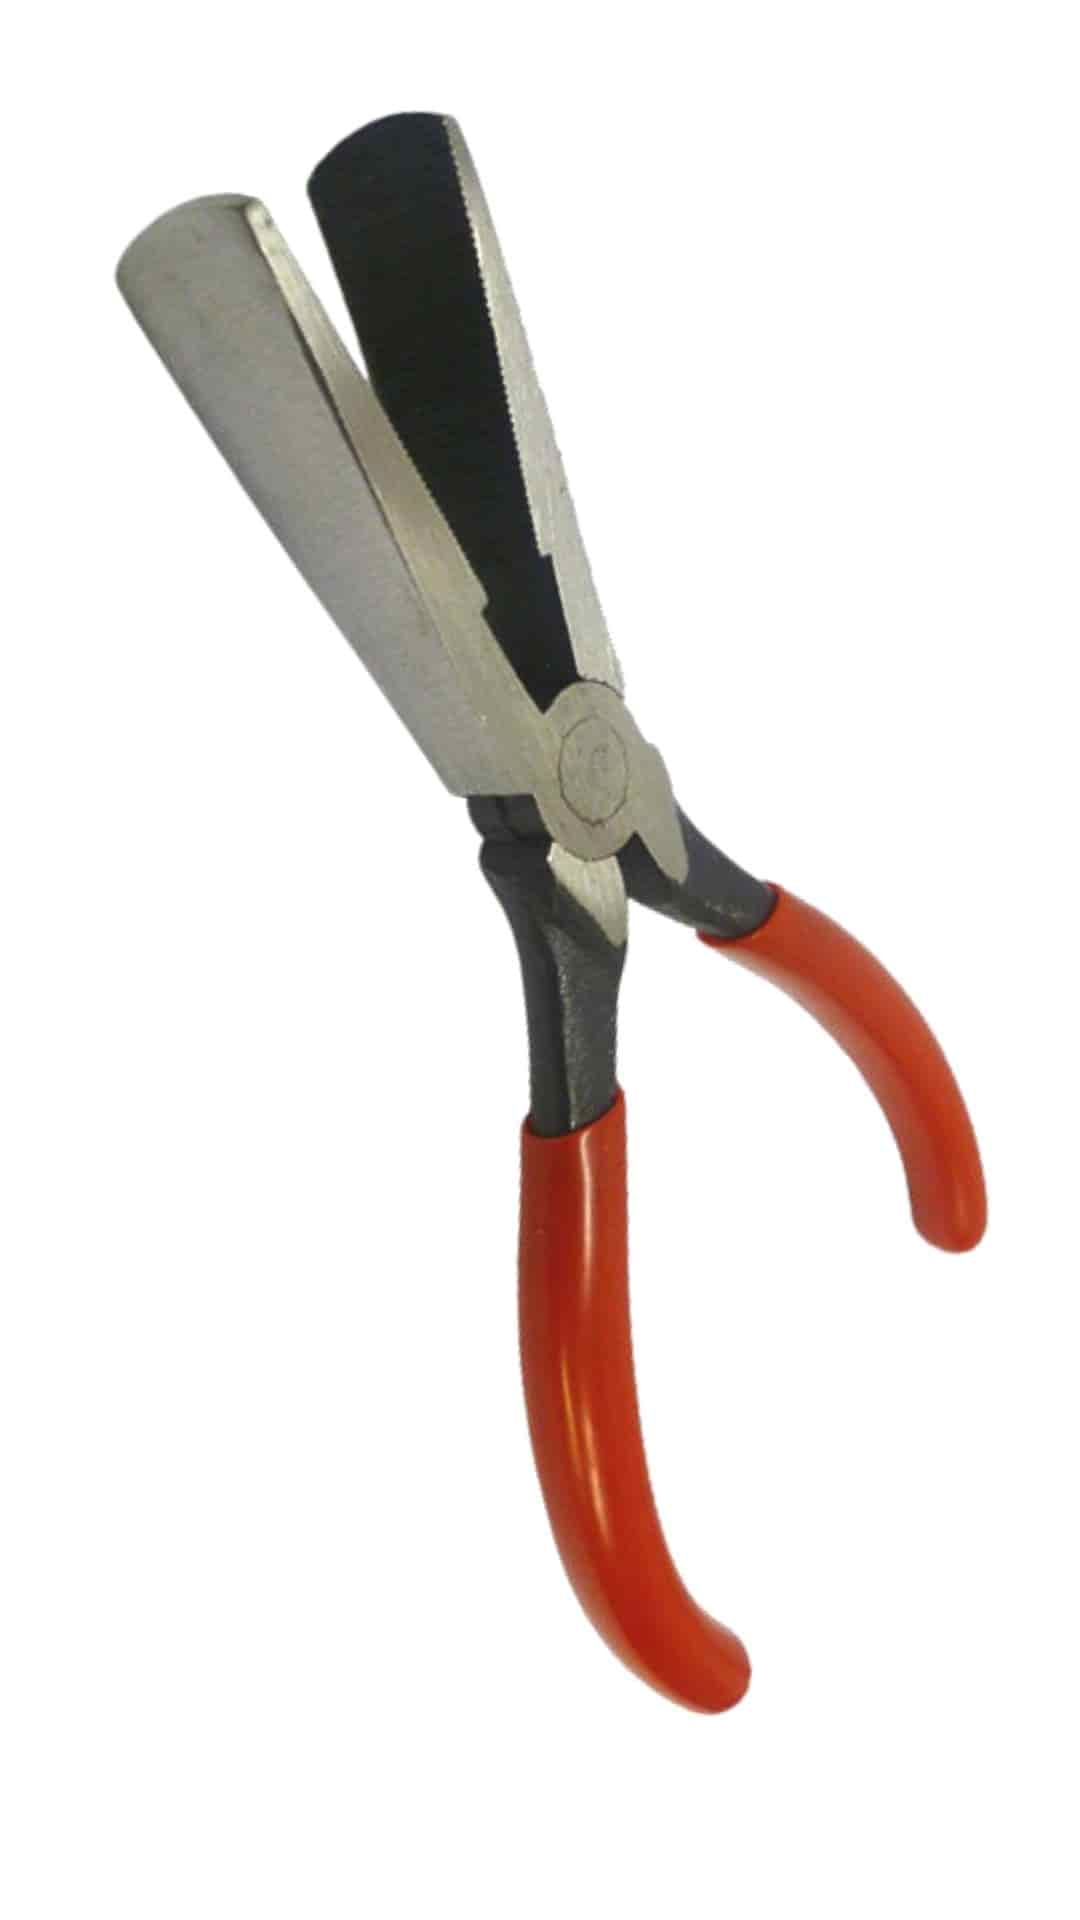
Short nose pliers or saddlers pliers
A short length of round dowling** can be a great help when pulling the lacing tight
If you wish to add quilting to the panel legs, having consulted with your tutor, a straight mattress needle will be useful.
Click the button ‘View product’ to see the price and add to cart
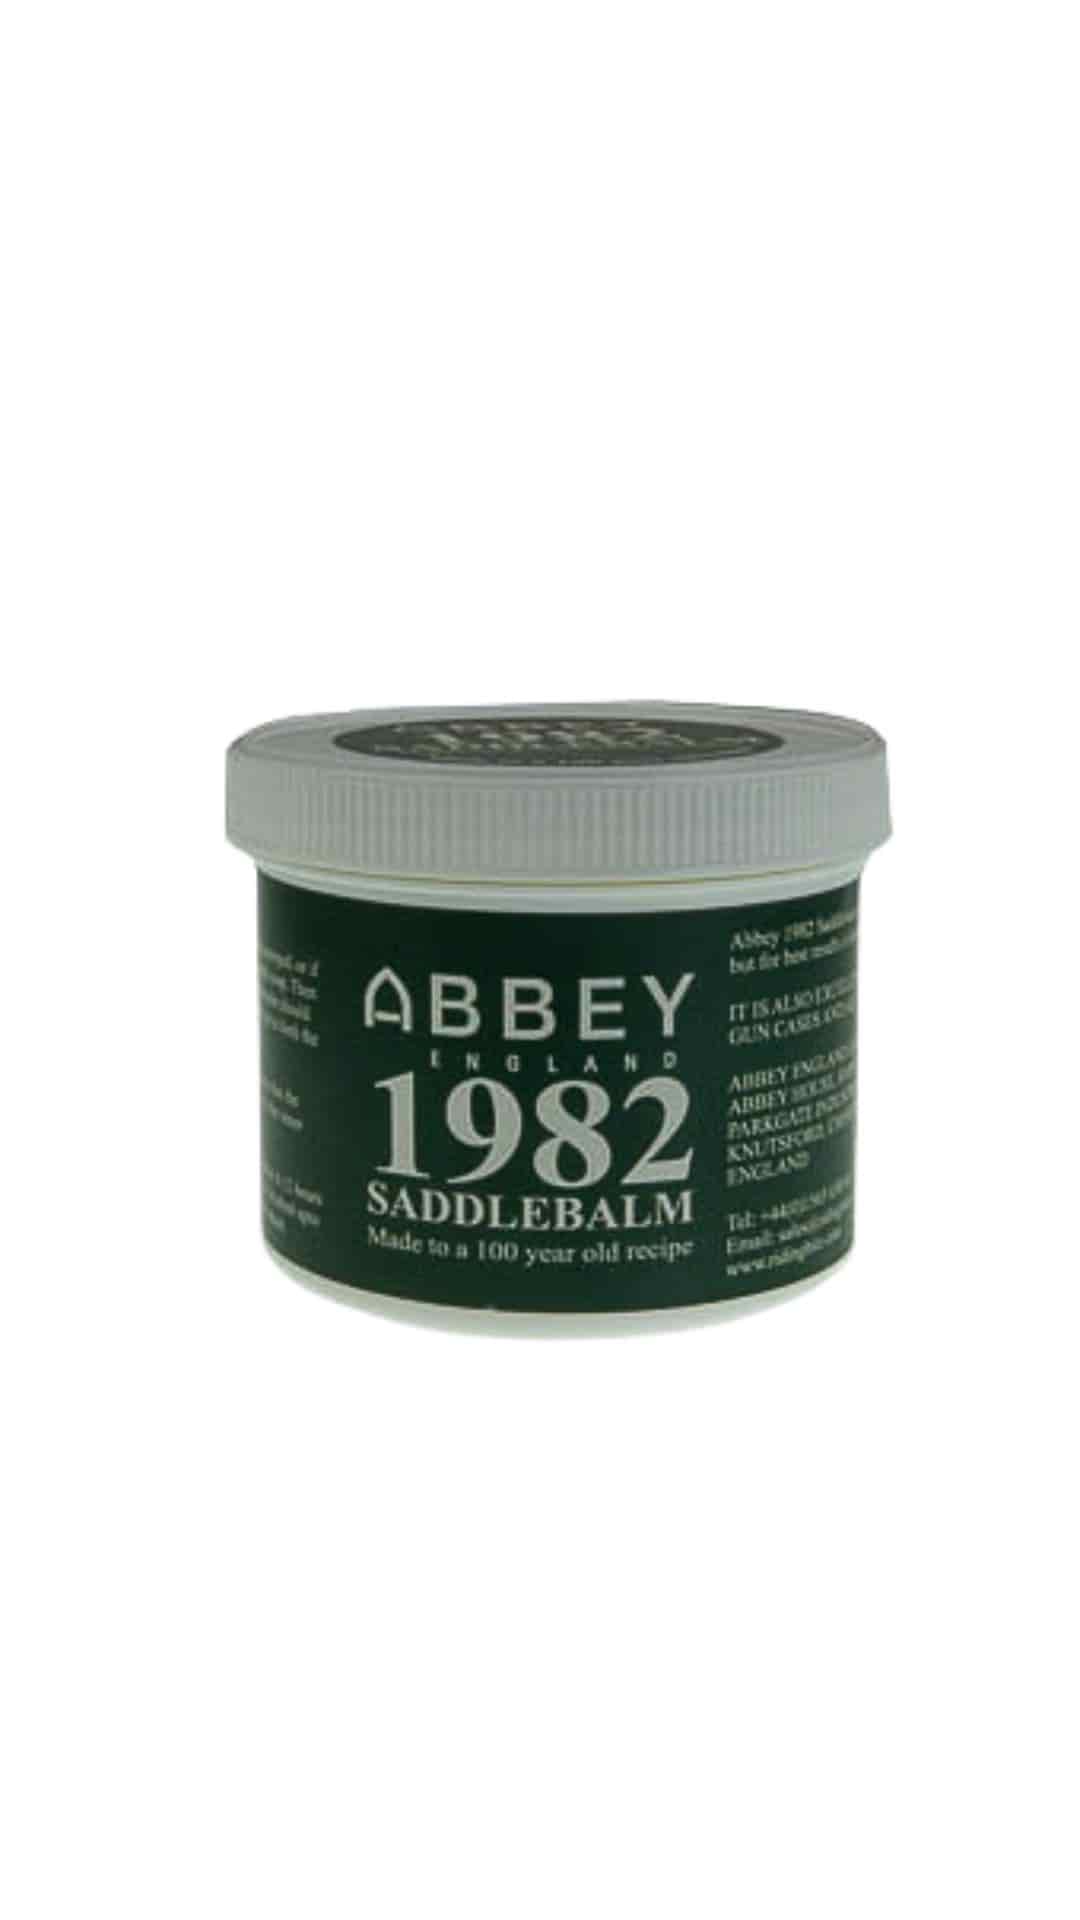
FINAL CHECKS
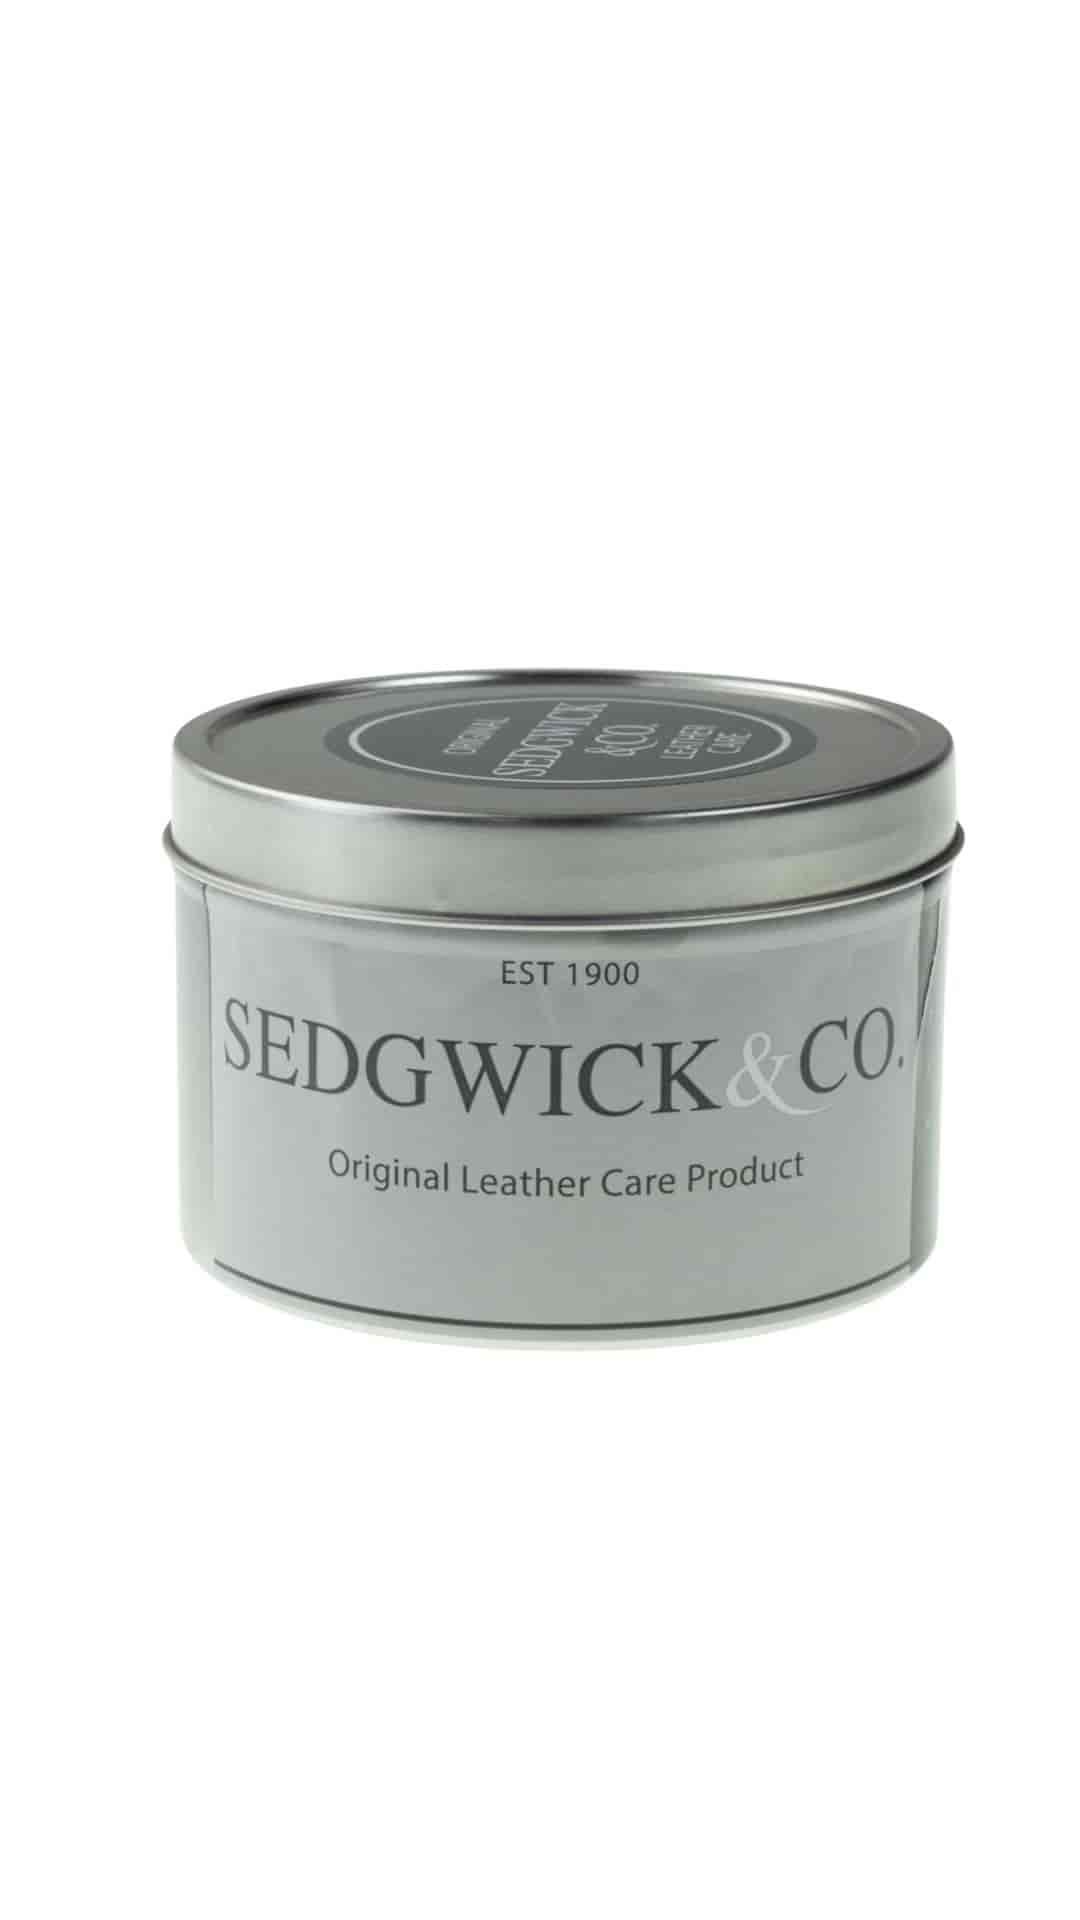
Either the Abbey saddle food or Sedgwick Leathercare will do the trick.
Click the button ‘View product’ to see the price and add to cart
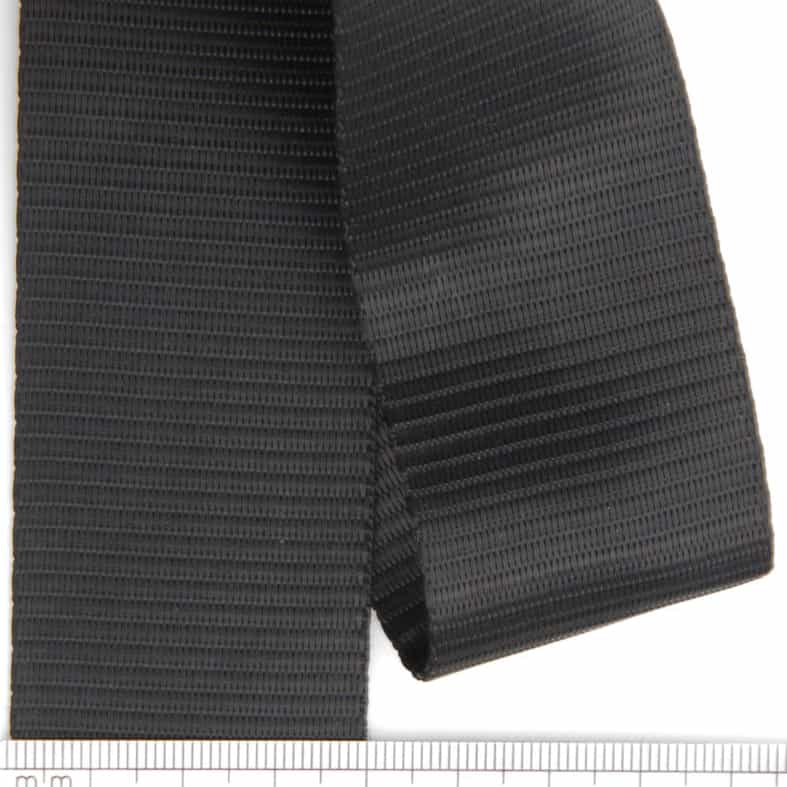
ADDITIONAL TASKS
Polyester Saddle Web
Girth Straps
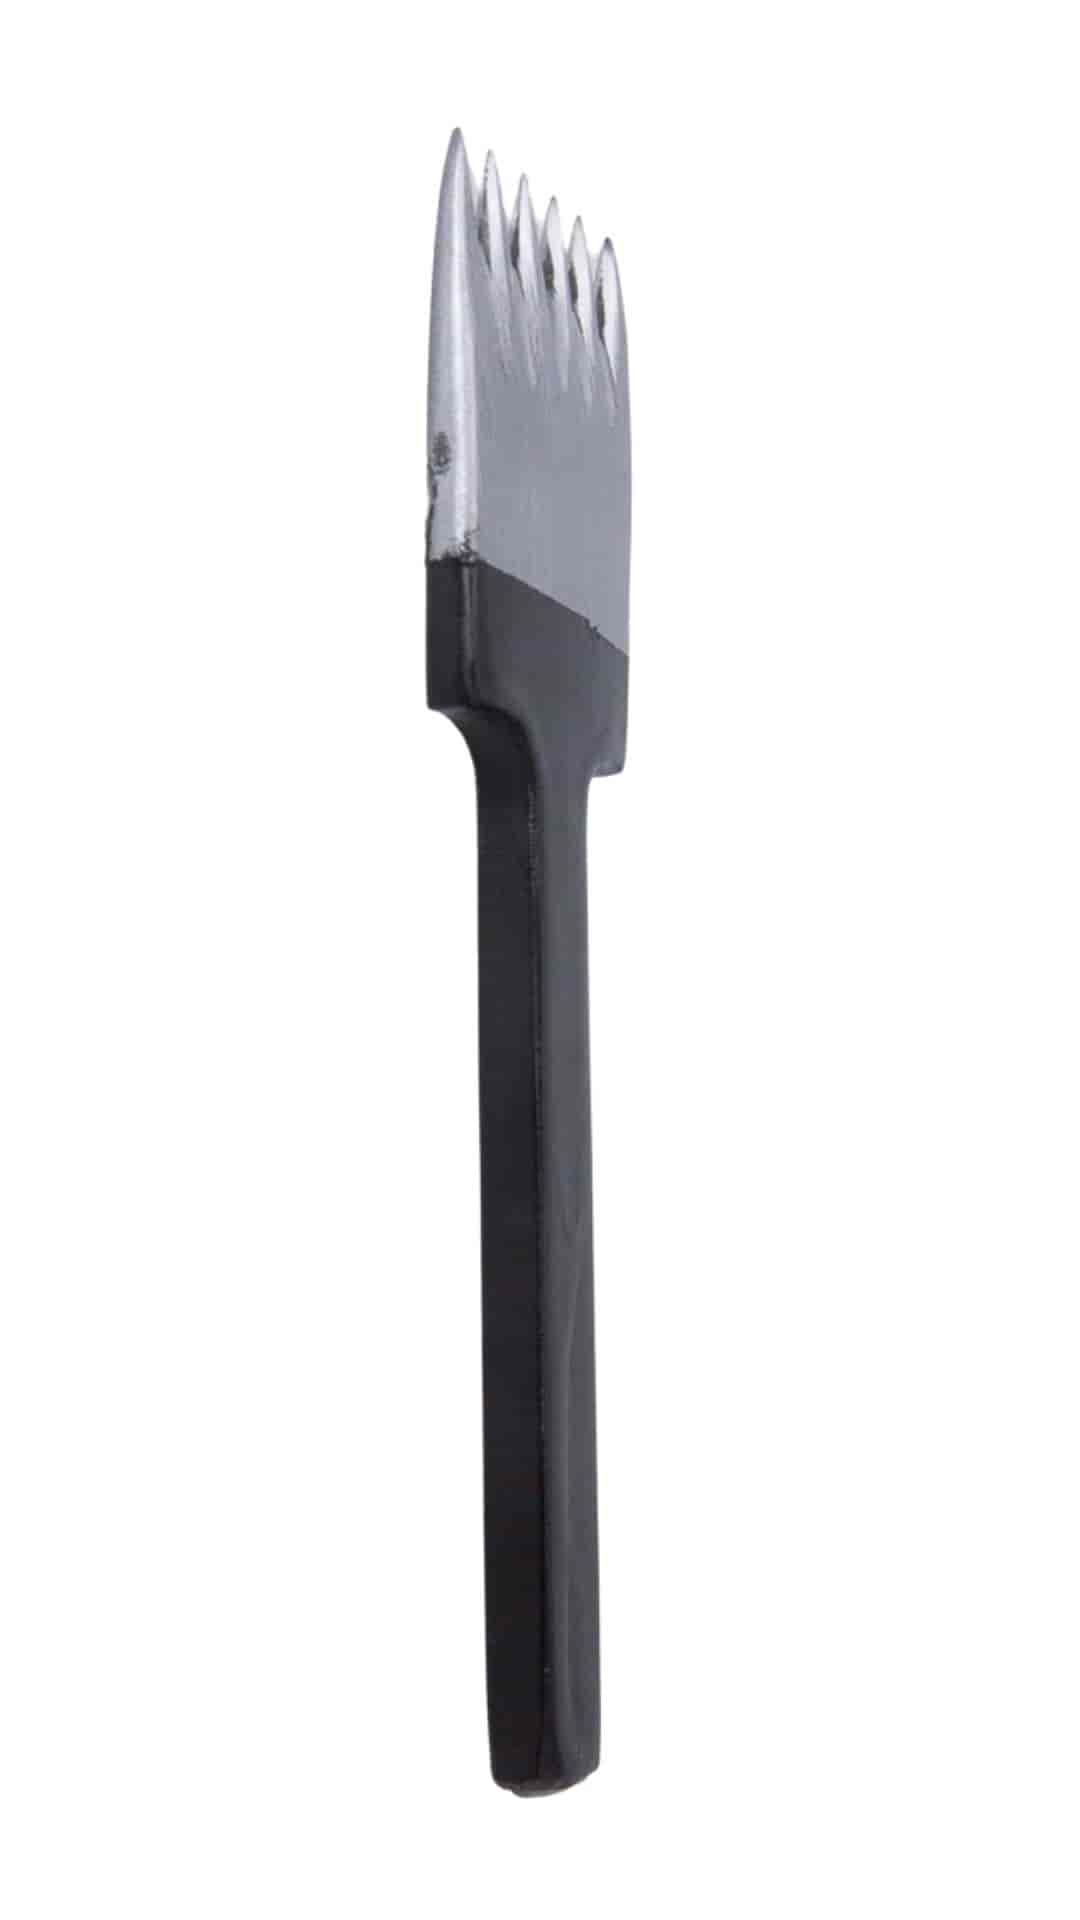
Pricking iron
Mallet
Click the button ‘View product’ to see the price and add to cart

REGULATING
Click the button ‘View product’ to see the price and add to cart
HOW TO ATTACH AN AWL BLADE
Here are some handy reminders:
If you have access to a vice:
- Secure the awl blade, point down, in the vice. You can use two 2p coins either side of the blade so that the softer metal protects the blade from the vice.
- Carefully tap the haft/handle onto the end of the blade using a mallet
- Check that the blade is secure before use
Please note, this is a guide only, and you should be confident that you can carry out the task safely. If you are in any doubt, ask your tutor or a Saddler to help you.
KIT
- Clicker blade and handle
- De-flocking iron
- Harness and curved mattress needle
- Tiger thread, 0.8mm and 1.4mm (black or brown)
- Curved awl blade and handle
- Short and medium (12” & 16”) curved flocking iron
- Medium straight flocking iron 14”
- Clicker awl
- Sedgwicks Leathercare 60ml
ESSENTIAL FLOCKING TOOL KIT
FIND YOUR ESSENTIAL
flocking tool kit HERE
A full reflock is a satisfying job, allowing the fully trained Saddle Fitter to achieve correct and comfortable saddle balance where the tree and panel design, and seat and blocks otherwise complement the horse and rider.
Reflocking is not just about the panel and wool – it is also an opportunity to check the soundness and symmetry of the tree, stirrup bars, girthing, and panel, and to make your findings known to the client where safety or comfort may be compromised. It is also the time – only where the Fitter has completed the appropriate training – to add or remove point or balance girth straps and to make any small repairs to stitching. It must be stressed that all Fitters should have recourse to a qualified Saddler for work that they are not able or qualified to carry out themselves. We find that Saddlers are happy to advise, and to take on work for you or your client. Don’t be shy to seek help where it is needed, especially when you are beginning.
It can be daunting for those who have never ‘dropped a panel’ (cut the stitching to separate the panel from the seat), let alone ‘laced’ one back in again. Even if you have a tool list, how do you know that you are about to order the correct awl or needle … and what is a clicker knife? We hope that this guide will set you up to complete good work in your own workshop, having gained your flocking training.
All the essential tools and materials mentioned in this article can be purchased separately.
Please note that this guide lists the key tools for each stage – if a tool has been used in an earlier part of the process it will not be listed again. Your tutor will instruct you on when and how to use each tool and/or material. Tools marked with a ** are not available from Abbey but may easily be found at a DIY or craft store.
_________________________________________________
DROPPING THE PANEL
Clicker handle
Clicker blade
The curved blade is useful when dropping the panel, but most people find a straight blade most useful for cutting leather.
Click the button ‘View product’ to see the price and add to cart
ASSESSING THE TREE
Staple and/or tack remover
A cutting mat with a grid* to assist the eye with symmetry assessment.
Click the button ‘View product’ to see the price and add to cart
READYING THE PANEL
De-flocking iron
Awl to prepare leather for stitching
Long nose pliers**
Awl handle
Beeswax
Tiger thread, 0.6mm – 0.8mm
Size 2 harness needle (straight) or 3” curved mattress needle
Click the button ‘View product’ to see the price and add to cart
A note about needles: there are three distinct needle types often used in reflocking a saddle. The straight, blunt harness needles, as below, are most often used to stitch closed the inner panel after all old flock has been removed and any lining and new flock has been put in place, and to complete any adjustments or corrections to the panel shape. These size 1 or 2 needles are also usually used to lace-in the front of the saddle.
The curved mattress needle may also be used for the jobs above, and to lace in the rear of the saddle where the panel is attached to the seat.
Finally, a long, thicker straight mattress needle can be used to ‘quilt’ panel legs once the flocking is complete. Often just three of four stitches are placed along the lower section of the panel leg so that the shape of the panel complements the conformation and activity of the horse. You should have assessed the horse and rider before considering whether and where to add quilting.
FLOCKING THE PANEL
Flocking irons to carry out the work. Choose either our Economy Stuffing Iron which is easier to bend or Stainless Steel Flocking Iron.
Finally, you will require a Smasher, also known as a Masher. Choose from aluminium or brass.
Click the button ‘View product’ to see the price and add to cart
LINING THE PANEL
If you wish to line the panel you may choose to use:
Soft Polyester Felt
Neoprene Epdm, most commonly 3mm.
Click the button ‘View product’ to see the price and add to cart
LACING IN THE PANEL
White gel pen** to help position the panel – this can be useful before dropping the panel too!
20mm tacks or scratch awl to hold the front of the panel in place
Curved awl (with handle)
Clicker or scratch awl
Tiger thread – 0.8mm or 1mm (doubled) for the front, and 1.4mm to lace in the back
Thread snips** or small sharp scissors to get a nice fine point on the thread before threading your needle
Harness and curved mattress needles
Short nose pliers or saddlers pliers
A short length of round dowling** can be a great help when pulling the lacing tight
If you wish to add quilting to the panel legs, having consulted with your tutor, a straight mattress needle will be useful.
Click the button ‘View product’ to see the price and add to cart
FINAL CHECKS
Either the Abbey saddle food or Sedgwick Leathercare will do the trick.
Click the button ‘View product’ to see the price and add to cart
ADDITIONAL TASKS
Polyester Saddle Web
Girth Straps
Pricking iron
Mallet
Click the button ‘View product’ to see the price and add to cart
REGULATING
Click the button ‘View product’ to see the price and add to cart
HOW TO ATTACH AN AWL BLADE
Here are some handy reminders:
If you have access to a vice:
- Secure the awl blade, point down, in the vice. You can use two 2p coins either side of the blade so that the softer metal protects the blade from the vice.
- Carefully tap the haft/handle onto the end of the blade using a mallet
- Check that the blade is secure before use
Please note, this is a guide only, and you should be confident that you can carry out the task safely. If you are in any doubt, ask your tutor or a Saddler to help you.
KIT
- Clicker blade and handle
- De-flocking iron
- Harness and curved mattress needle
- Tiger thread, 0.8mm and 1.4mm (black or brown)
- Curved awl blade and handle
- Short and medium (12” & 16”) curved flocking iron
- Medium straight flocking iron 14”
- Clicker awl
- Sedgwicks Leathercare 60ml